| Final Form | |
|---|---|
| Obtained | After defeating Roxas in The World That Never Was |
| Drive Gauges | 5 |
| Required Party Member | Both (one of them can be a Guest Character) |
| Related Unlock Ability | Glide |
| EXP Gain | +1 EXP for every Nobodies you defeated |
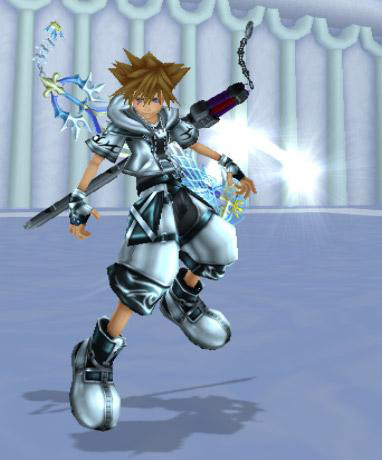
Final Form is unlocked after Sora defeats Roxas during Sora’s visit to The World That Never Was. However, it can’t be used immediately after obtaining it.
To actually use Final Form, you need to keep doing Drive Forms until one of them becomes Anti Form, which then gets overridden with Final Form during its transformation.
Unlocking Final Form
To gain access to this form after TWTNW, you just need to activate Anti Form like usual (by abusing Drive Forms), or equip the Two Become One Keyblade, as it has an ability that activates Anti Form whenever Sora transforms into a Drive Form.
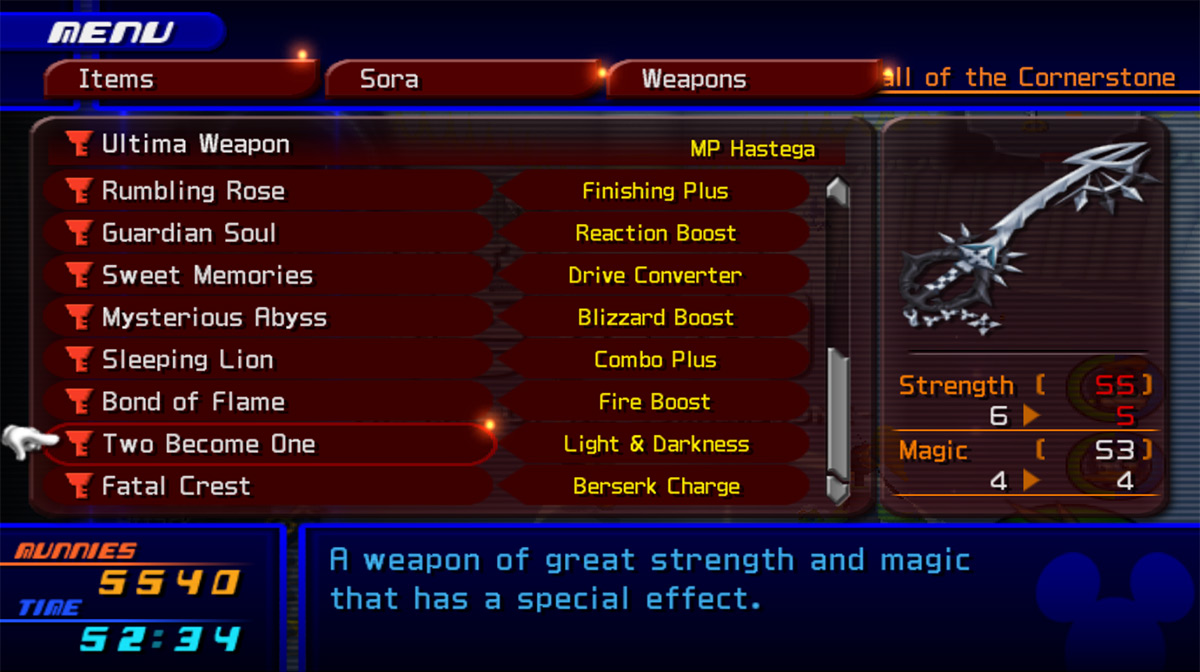
However, there are chances involved.
Depending on how many times Anti Form has been activated after obtaining Final Form, Sora will activate Final Form from Anti Form’s activation based on these rates:
- 3% chance of Final Form activating if it’s your first time
- 9% chance of Final Form activating if it’s your second time
- 27% chance of Final Form activating if it’s your third time
- 75% chance of Final Form activating if it’s your fourth time and onwards
It consumes 5 (five) gauges from the Form Gauge, making this the most costly Drive Form in KH2.5. It also requires both of your party members.
Final Form’s Benefits
As Final Form is meant to be the greatest Form of them all, it includes aspects from every Form (except Limit), and improves upon it:
- Like Valor Form, Sora’s Strength is greatly increased. However his physical attacks and finishers are much stronger in this Form compared to Valor Form. Sora’s attack speed has also increased tremendously.
- Like Wisdom Form, Sora’s Magic is also greatly increased, his spell finishers are stronger, and Sora is able to cast spells/use items while moving as well. Though instead of sliding on the ground, Sora now floats in the air, which makes his movement faster than it was in Wisdom Form. Sora’s spell casting speed has also increased tremendously.
- Like Master Form, some of Sora finishers focus on crowd control depending on how many enemies there are. Sora’s spells are also modified, though not every spell focuses on crowd control like in Master Form. Chaining spells endlessly isn’t possible as well. Sora’s jump is as high as in Master Form, if not a bit higher.
Not only that, Sora also has the ability to glide in Final Form.
With all of that said, the biggest drawback of Final Form is the high Drive Gauge cost. Not to mention that the Form Gauge decreases when Sora deals damage to the enemies, decreasing the time you have with the Form.
So make sure to use this Form only when it’s really going to help.
Form Levels
Leveling up this form to certain levels will allow Sora to learn & use Glide even when not in Final Form. You can find and equip it in the ‘Abilities’ tab.
| Form Level | EXP Needed | Bonuses (Final Form) | Permanent Bonuses (Sora) |
|---|---|---|---|
| Lv. 1 | 0 | Glide LV1 | – |
| Lv. 2 | 12 | Form Gauge +1 | Auto Final |
| Lv. 3 | 36 |
Form Gauge +1 Glide LV2 |
Glide LV1 |
| Lv. 4 | 84 | Form Gauge +1 | Form Boost |
| Lv. 5 | 160 |
Form Gauge +1 Glide LV3 |
Glide LV2 |
| Lv. 6 | 293 | Form Gauge +1 | Form Boost |
| Lv. 7 | 450 |
Form Gauge +1 Glide MAX |
Glide LV3 |
Abilities
| Ability | Description |
|---|---|
| Action Abilities | |
| Final Arcana | Handling the Keyblade with great skill, unleashes a powerful finishing combo move to a single target. |
| Final Strike | While spinning in midair, deals a powerful finishing combo move to a single target. |
| Final Arts | Unleashes a powerful finishing combo move to get rid of several targets at once. |
| Auto Assault | The Keyblade automatically unleashes attacks in various situations. |
| Crime & Punishment | A Keyblade held in each hand unleashes powerful magic spells. |
| Mobile Action | Actions will be enabled while moving. |
| Growth Abilities | |
| Glide LV1 | Press □ (PlayStation) / X (Xbox) / Y (Nintendo) in mid-air to ride the wind. Keep the button pressed down for longer action. |
| Glide LV2 | Press □ (PlayStation) / X (Xbox) / Y (Nintendo) in midair to ride the wind at a moderate speed. Keep the button pressed down for longer action. |
| Glide LV3 | Press □ (PlayStation) / X (Xbox) / Y (Nintendo) in midair to ride the wind at great speed. Keep the button pressed down for longer action. |
| Glide MAX | Press □ (PlayStation) / X (Xbox) / Y (Nintendo) in midair to ride the wind at extreme speed. Keep the button pressed down for longer action. |
| Support Abilities | |
| Synch Blade | Equips a Keyblade in each hand. The ability of the left hand weapon becomes available as well. |
| MP Haste | MP recharges at 1.25 times the original speed. |
How To Level Up
Final Form gains EXP by defeating Nobodies with Final Form, including Organization XIII bosses. Each Nobody that you defeat will grant you +1 EXP, regardless of how strong they are.
The best world to gain EXP for Final Form is at Mysterious Tower in Twilight Town. This area is filled with Nobodies that aren’t as strong as the ones in The World That Never Was, so they’re much easier to kill.
We’ve detailed the most optimal EXP farming route below.
Best Method: Mysterious Tower Farm
Location: Tower: Entryway – Tower: Sorcerer’s Loft, Twilight Town
There’s a straightforward farming route in Mysterious Tower that will let you encounter plenty of Nobodies all the way through, with save points at each end.
Here’s the route in detail:
Start by warping to the Tower: Entryway save point in Twilight Town, then take the staircase and head to the portal, which will lead you to the first part of Tower: Wayward Stairs.
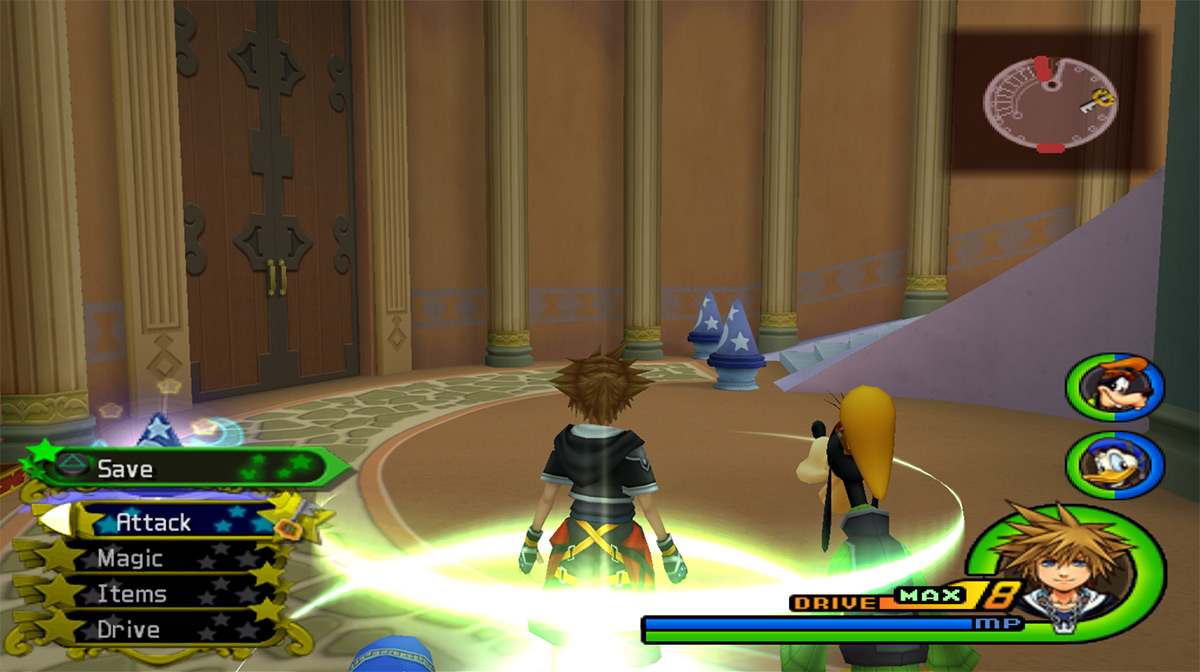
Once there, clear all of the Nobodies in the area.
You can use Firaga or other high-level magic to defeat them fast.
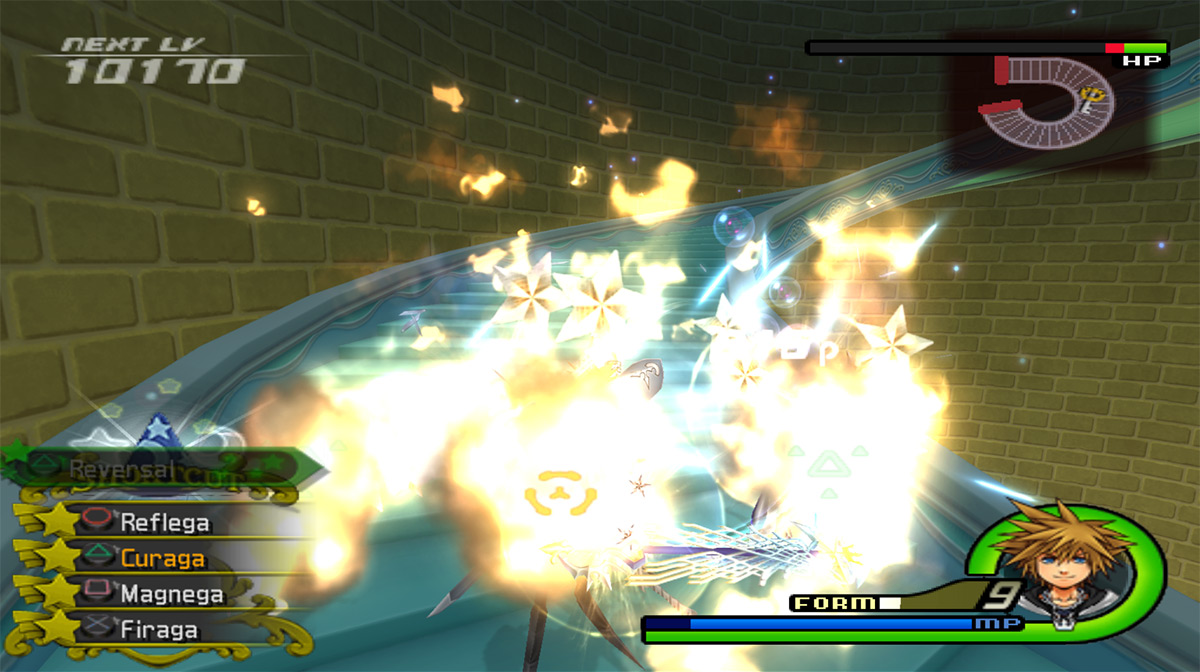
After defeating all of the Nobodies, head up the stairs, which will lead you to Tower: Star Chamber.
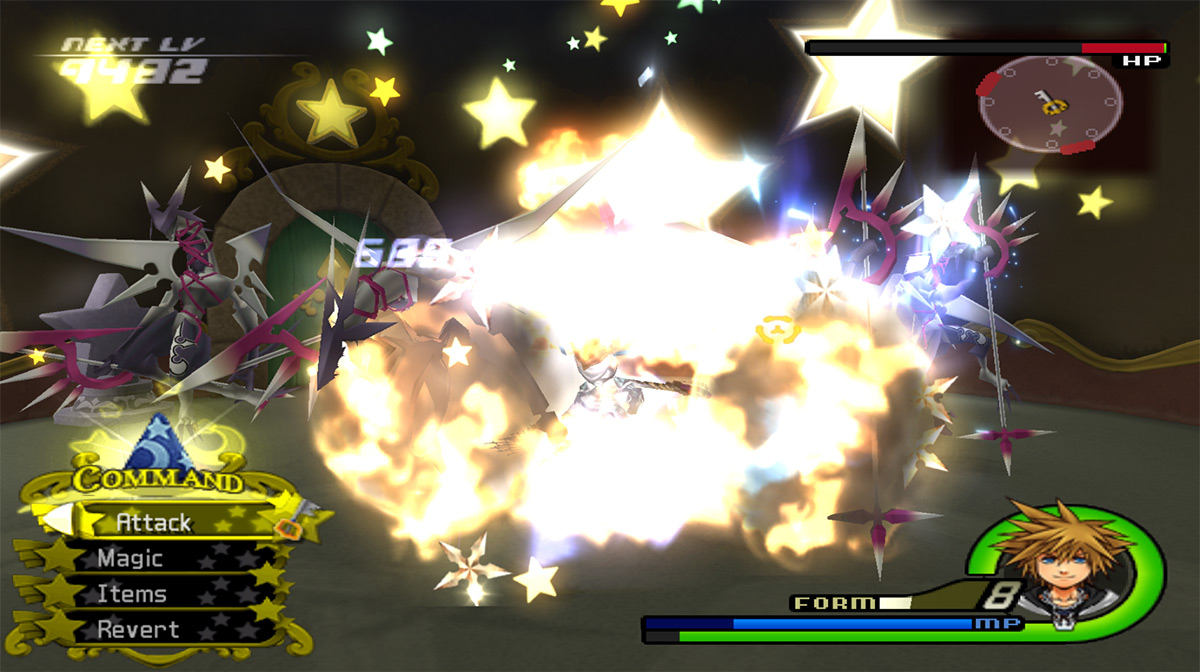
Clear out all of the Nobodies in the area like before, and then head to the door in the upper part of the room (use the minimap for this). This door will lead you to the second part of Tower: Wayward Stairs.
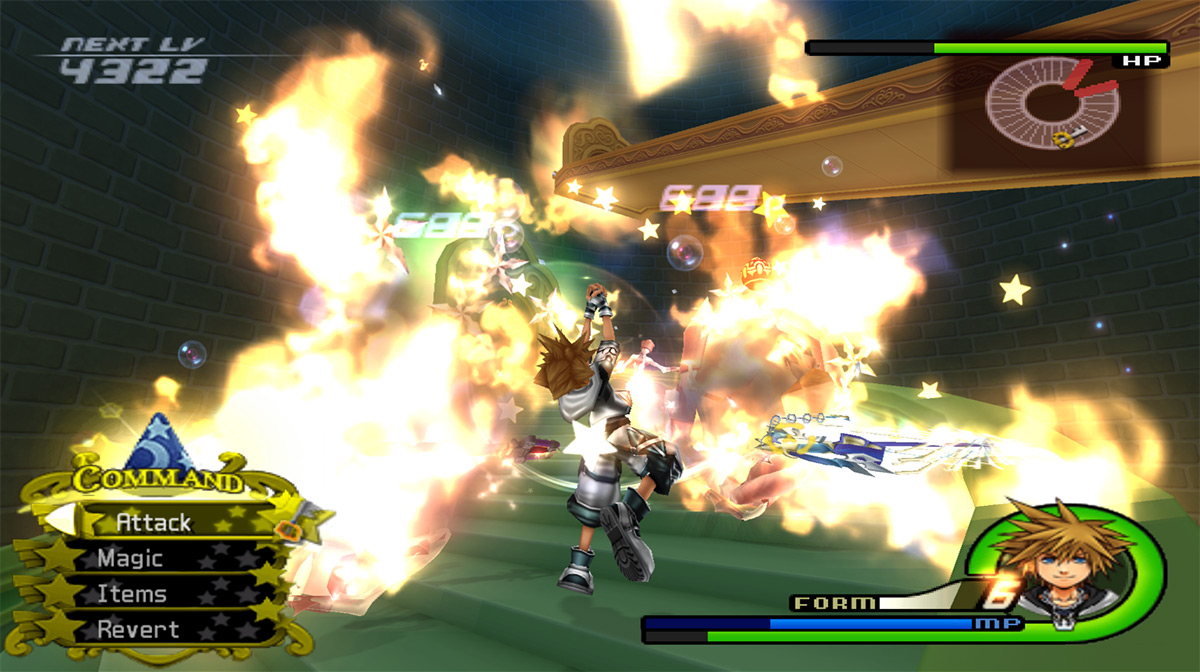
Once again, clear all of the Nobodies in the area and then head to the door at the top of the stairs, which will lead you to Tower: Moon Chamber.
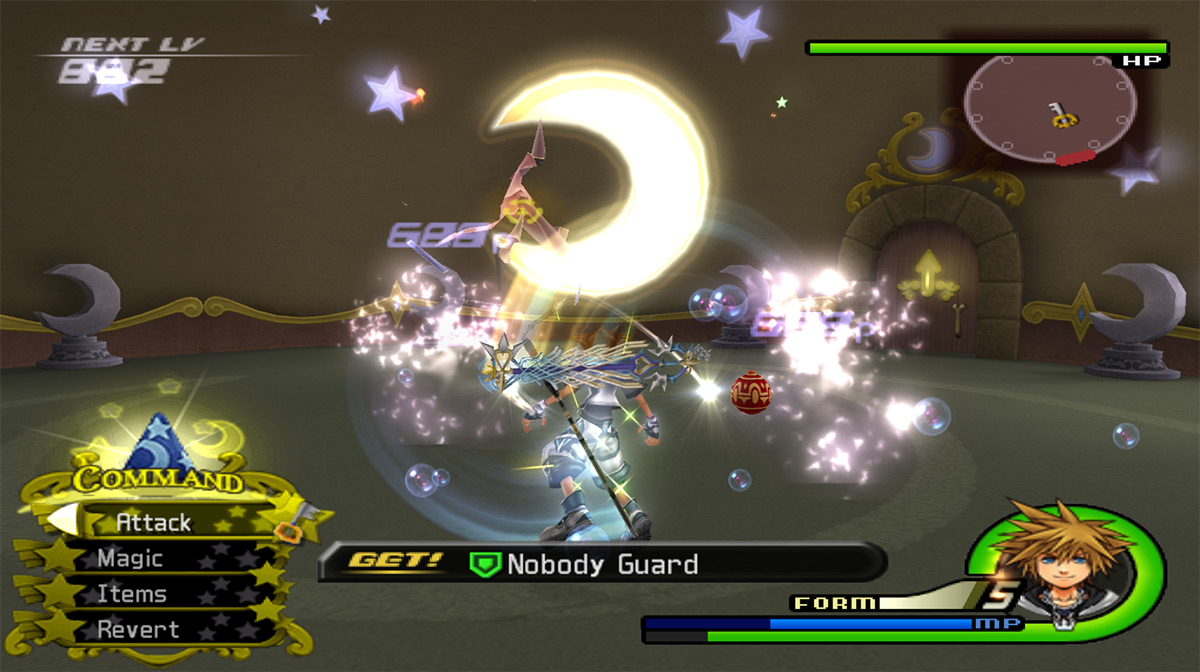
Like before, clear all of the Nobodies in the area – there aren’t many here but they should be fairly easy to clear.
After that, head to the door in the upper part of the room, leading you to the final part of Tower: Wayward Stairs.
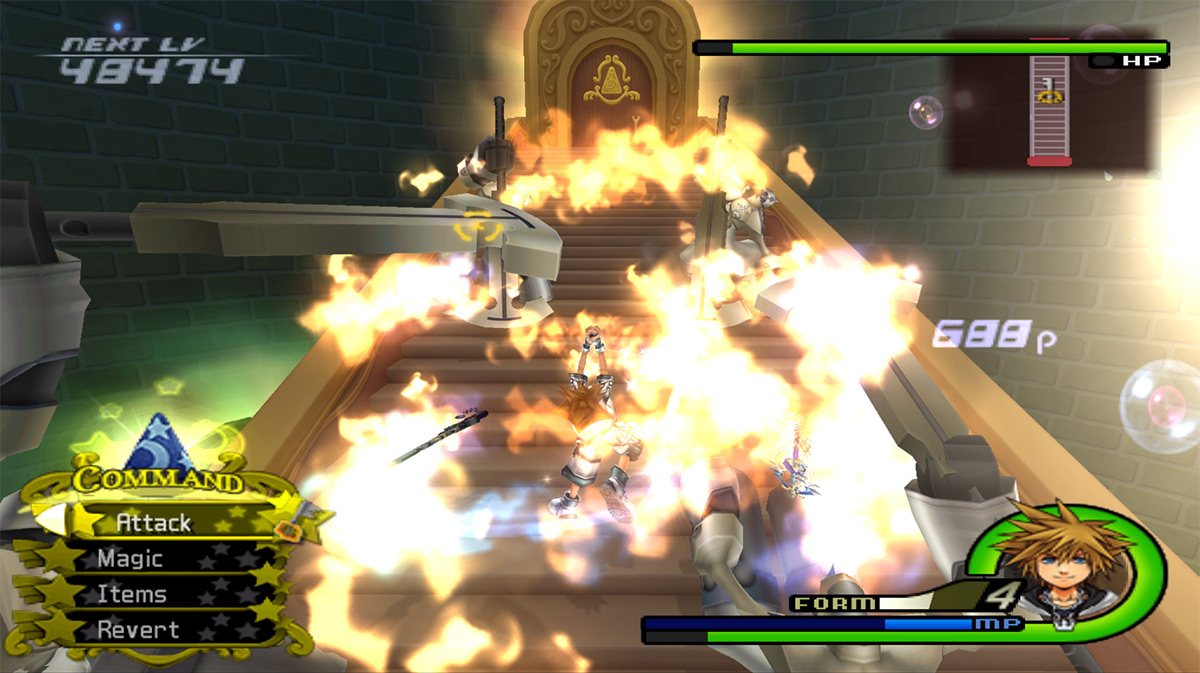
Clear the Nobodies in the area again (this is the last one in the route, I swear!)
Once that’s done, head to the door at the top of the staircase, which should lead you to the end of the route in Tower: Sorcerer’s Loft.
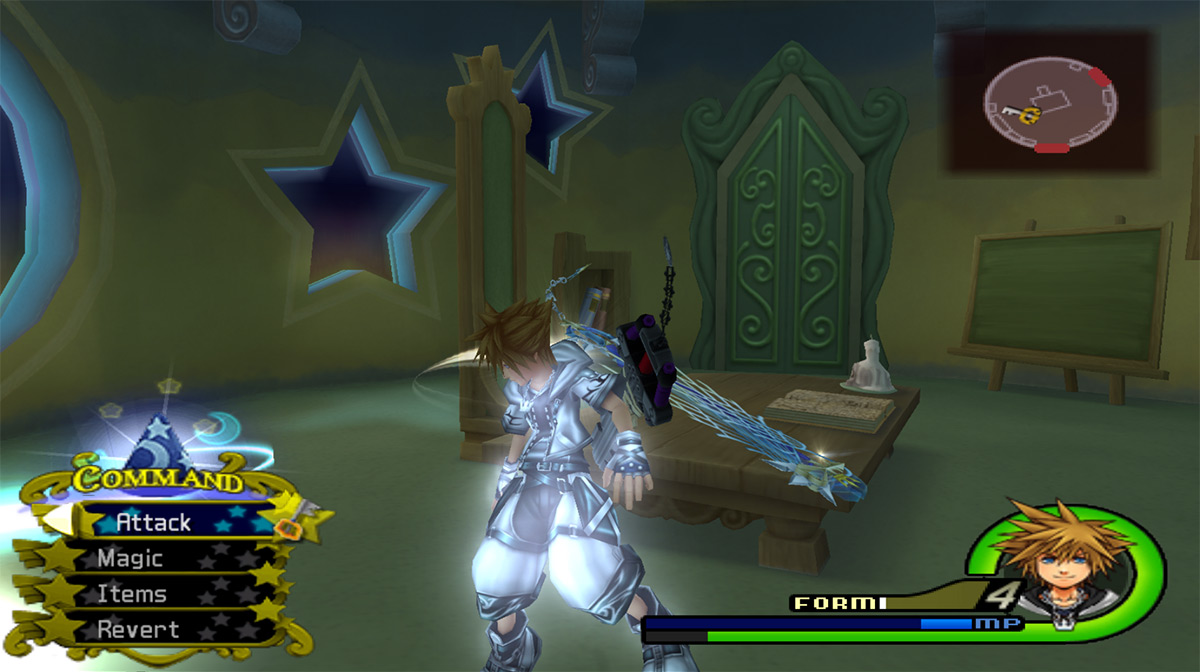
To repeat the route, just go to the save point in this area while still in Final Form, and then teleport back to the World Map into your Gummi Ship.
Then warp back to the Tower: Entryway save point to repeat the run again. You should have your Drive Gauge refilled to max if you can leave the world before running out of Drive Gauges.

