
← Back to Synthesis Materials List
| Hungry Shards | |
|---|---|
| Dropped By |
|
| Also Obtained By |
|
| Best Farming Spot |
|
Hungry Shards are dropped by a variety of enemies in KH3, but the best spot for farming these shards is in the Toybox world. All of the toys possessed by the Marionette Heartless drop Hungry Shards in Toybox at a healthy drop rate.
Note: Hungry Shards cannot be bought or synthesized at the Moogle Shop. So they can only be acquired through regular farming methods.
Toybox Farming Route
Warp in from the Main Floor: 3F save point and head east.
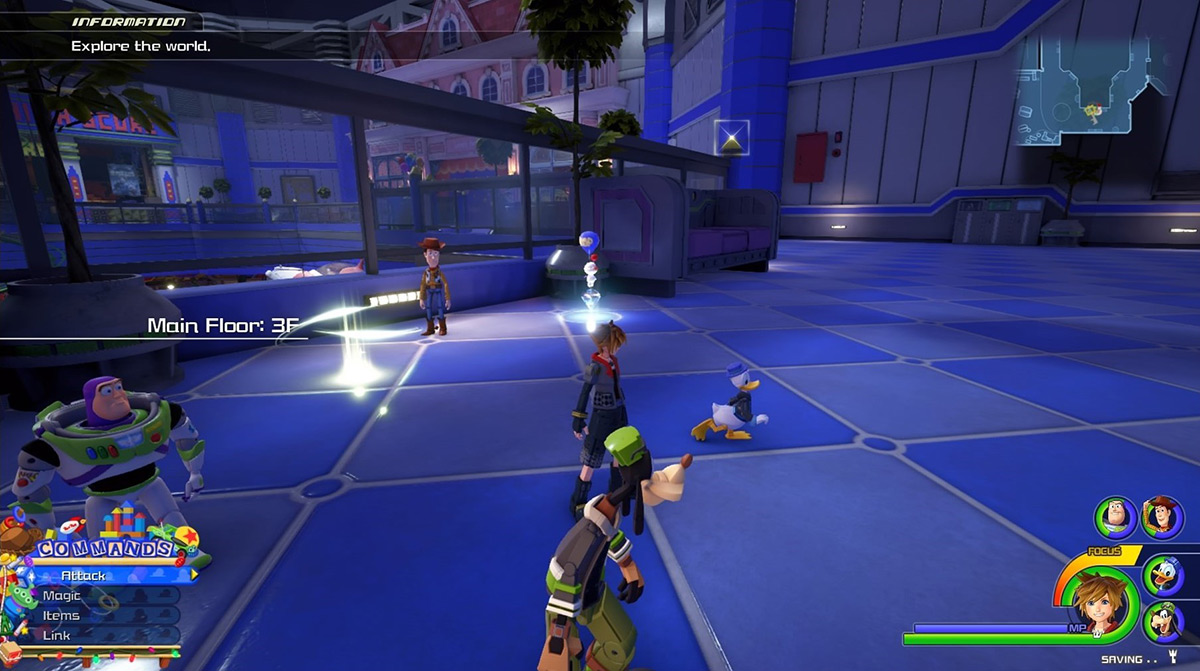
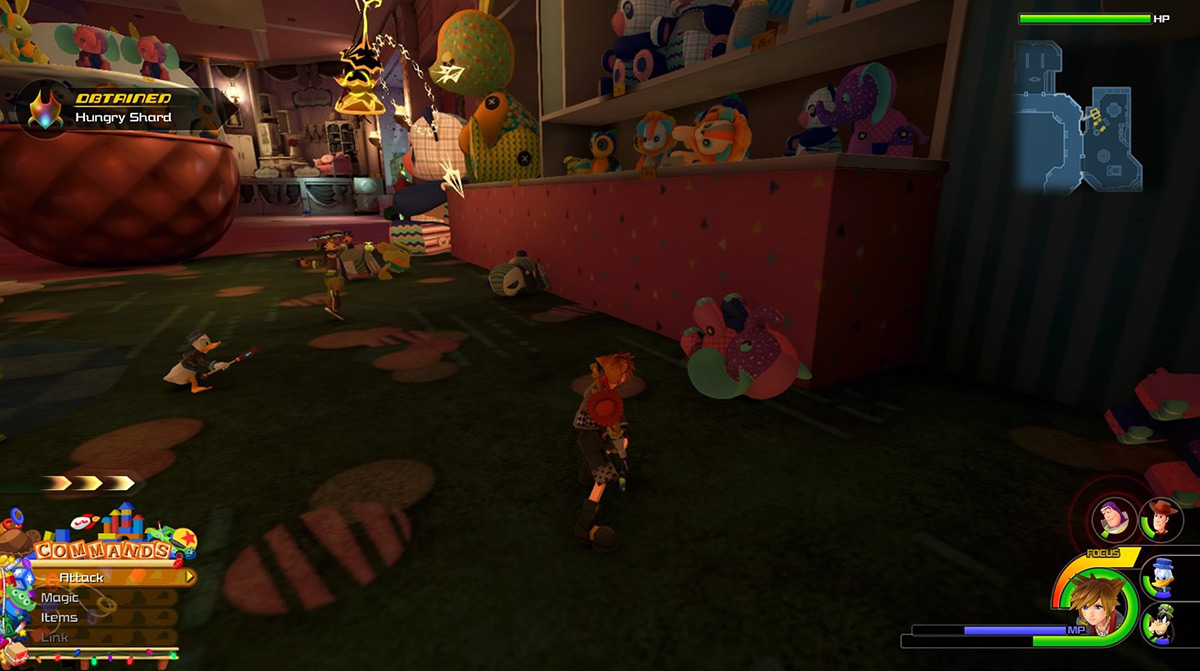
Enter the Babies and Toddlers: Dolls store through the window.
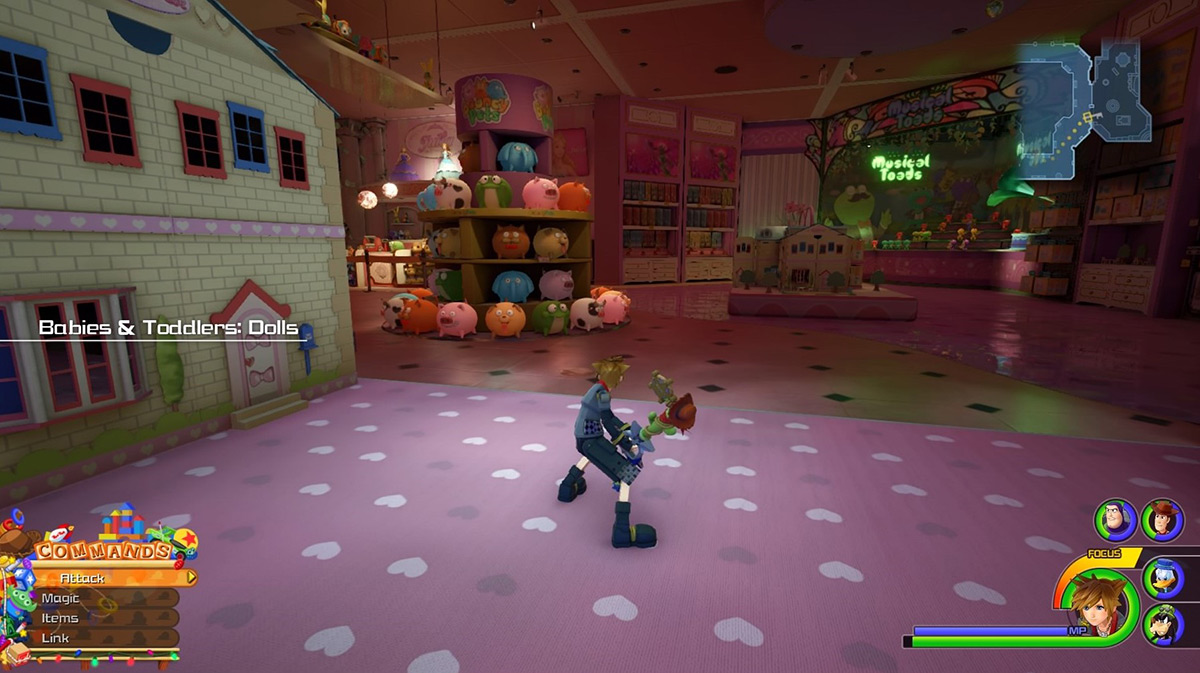
Almost immediately, a group of Marionette Heartless will attack you.
Now the trick here is to leave the marionettes be and let them possess the Patchwork Animals and Bouncy Pets which both drop Hungry Shards.
These are your regular looking stuffed toys that get glowing eyes after being possessed by the Marionettes.
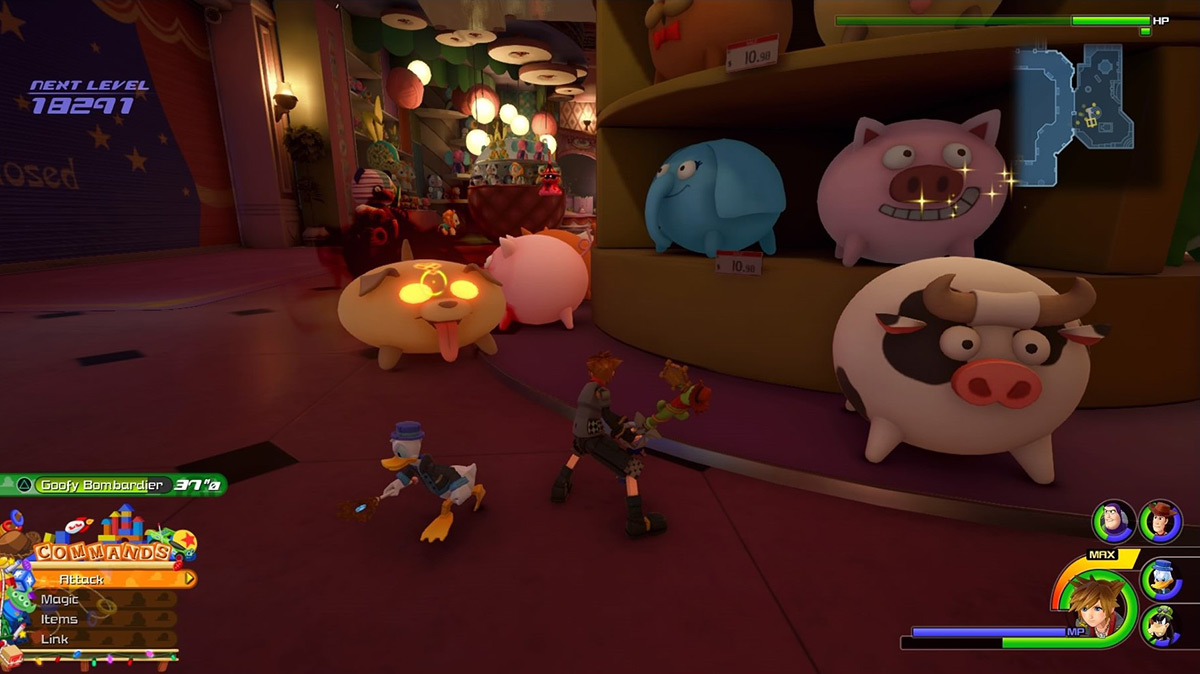
The Patchwork Animals come in lion and panda forms, while the Bouncy Pets come in a variety of cats, dogs, cows, pigs and frogs.
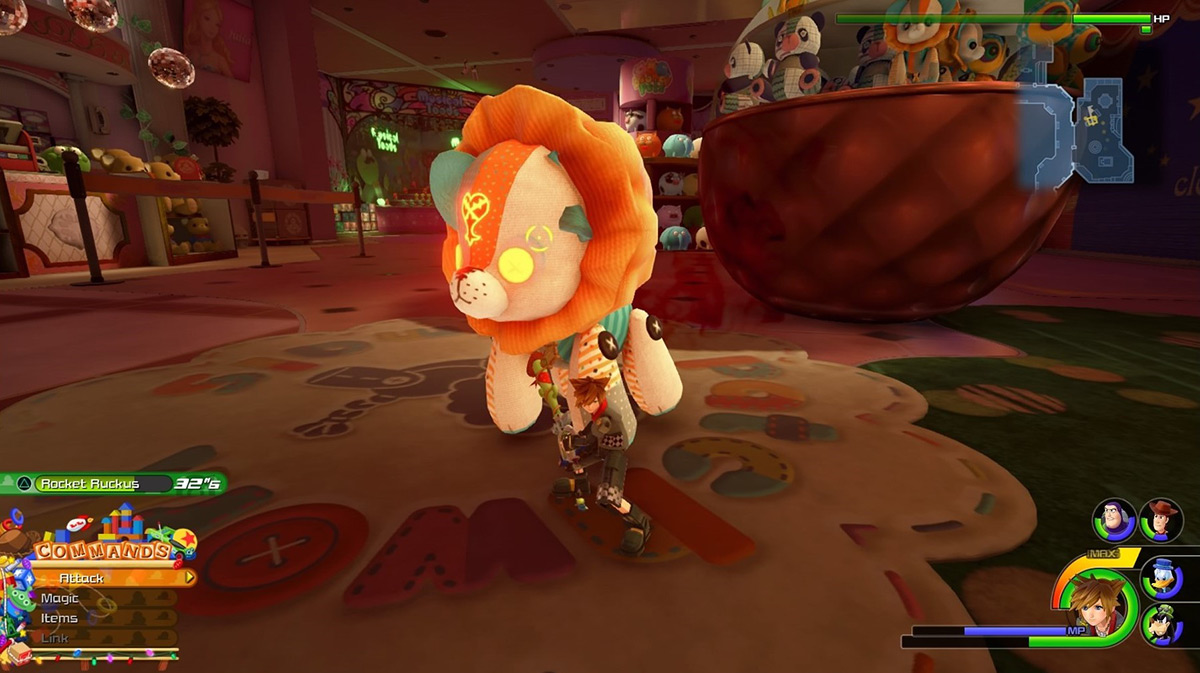
The Patchwork Animals attack by dashing towards you, while the Bouncy Pets try to squash you and create damaging ripples on the floor.
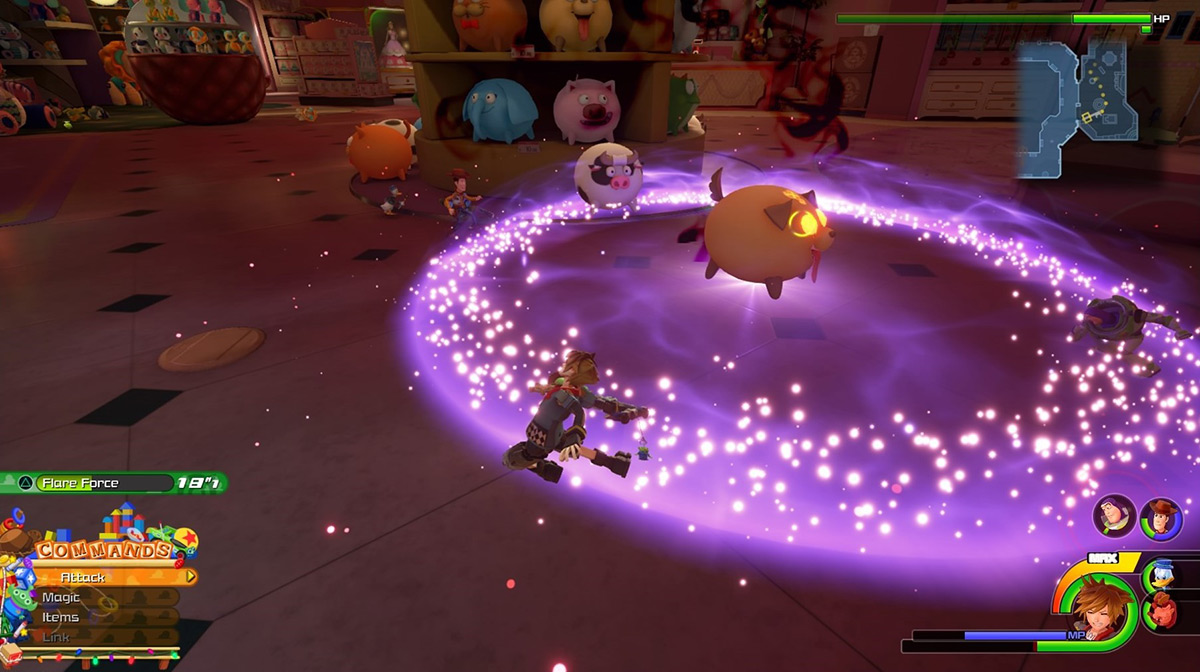
Both of these attacks can be avoided by either dodge-rolling or gliding out of their way.
The Pathwork Animals and Bouncy Pets are particularly weak against fire so use Firagas liberally.

All the Marionette possessed toys drop Hungry Shards 8% of the time.
With so many of them spawning around, you should find plenty of shards along the way.
But if you need to repeat the route then just warp back from the nearest save point and re-enter the world to have them all respawn.
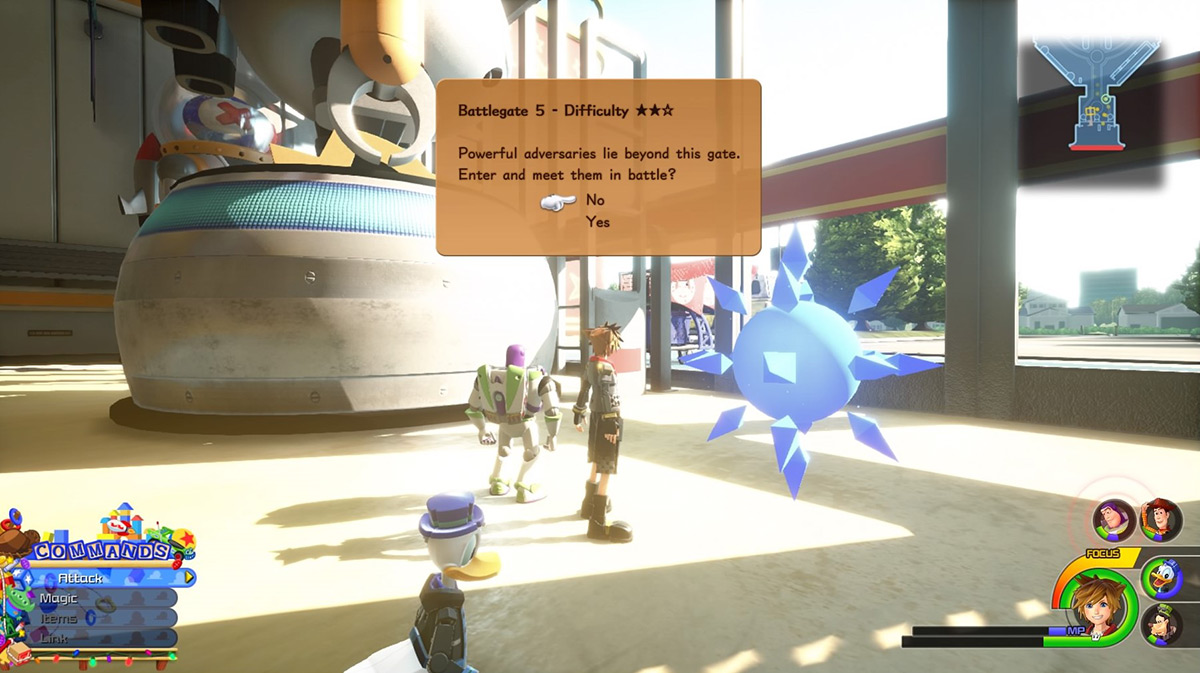
Battlegate 5
Hungry Shards can be farmed from Battlegate 5, located in Toybox during the end-game.
Here’s how to find this battlegate.
Enter from the Main Floor: 1F save point and head back towards the entrance.
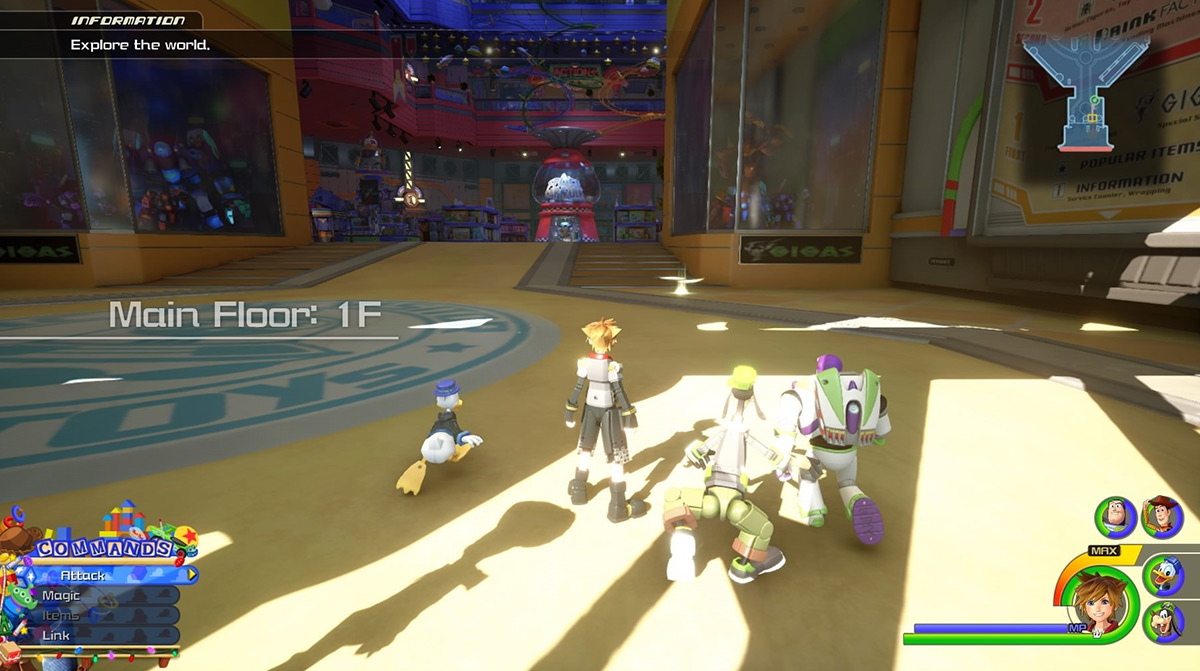
The blue crystal entrance to Battlegate 5 will be located right next to the entrance doors between a couple of giant robot statues.
Using Hungry Shards
Hungry Shards are required for ten recipes in total, and you must have at least 13 shards in total to synthesize at least one of each recipe.
| Recipes that require Hungry Shards | |
|---|---|
| Recipe | Materials Required |
| Hi-Ether |
|
| Refocuser |
|
| AP Boost |
|
| Warhammer+ |
|
| Clockwork Shield+ |
|
| Fira Bangle |
|
| Blizzara Choker |
|
| Thundara Trinket |
|
| Dark Anklet |
|
| Petite Ribbon |
|