| # | Quote | What to Photograph | Screenshot | Reward (Recipe) |
|---|---|---|---|---|
| 1 | “I need oven mitts to handle that hothead, kupo.” | A Flame Core Heartless in Olympus | 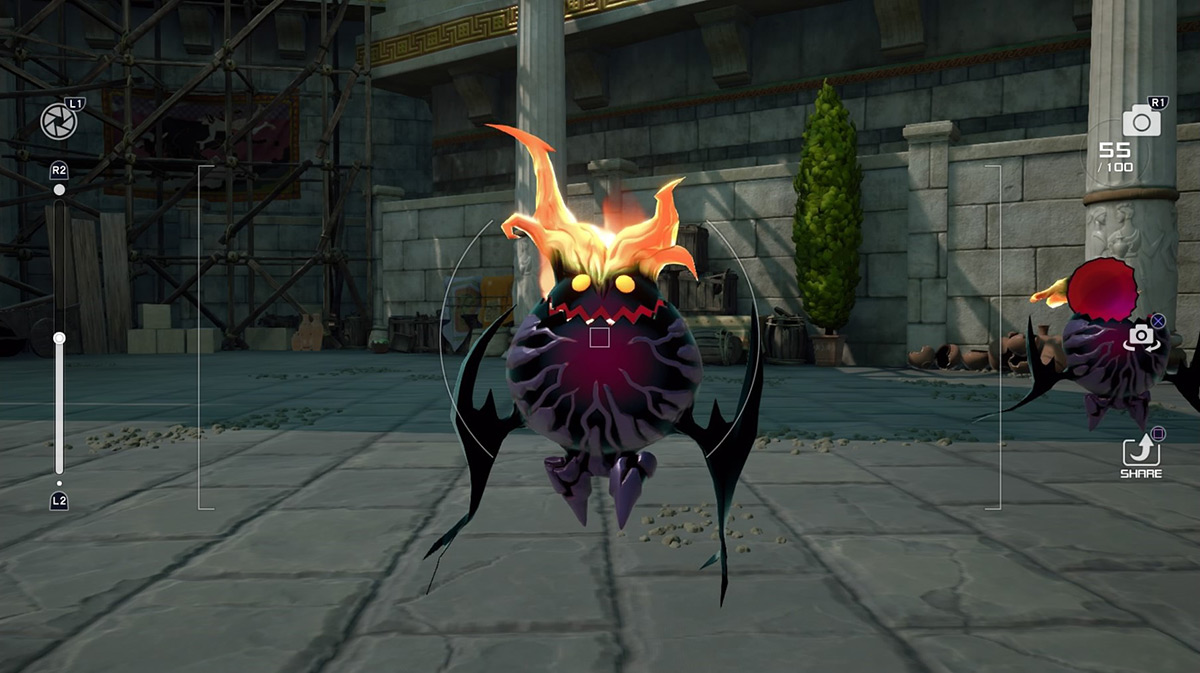 |
Firefighter Rosette |
| 2 | “That fiend keeps getting my pom-pom wet, kupo!” | A Water Core Heartless in Monstropolis | 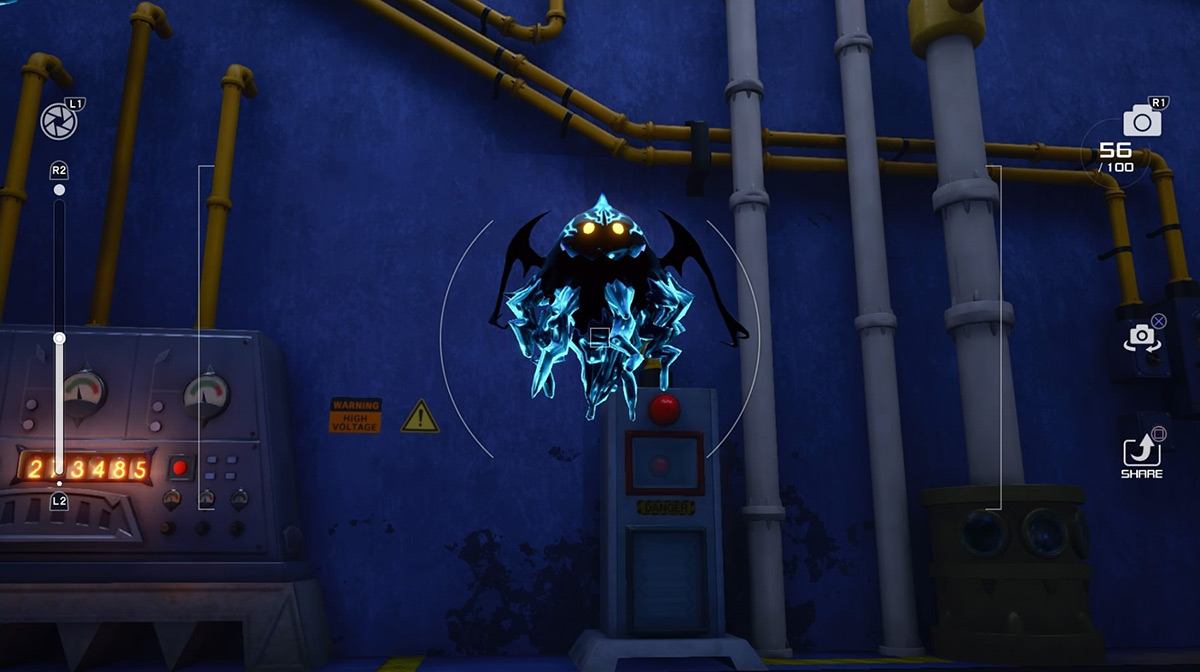 |
Umbrella Rosette |
| 3 | “Fluffy doesn’t always mean nice, kupo!” | A Chief Puff Heartless in the Kingdom of Corona | 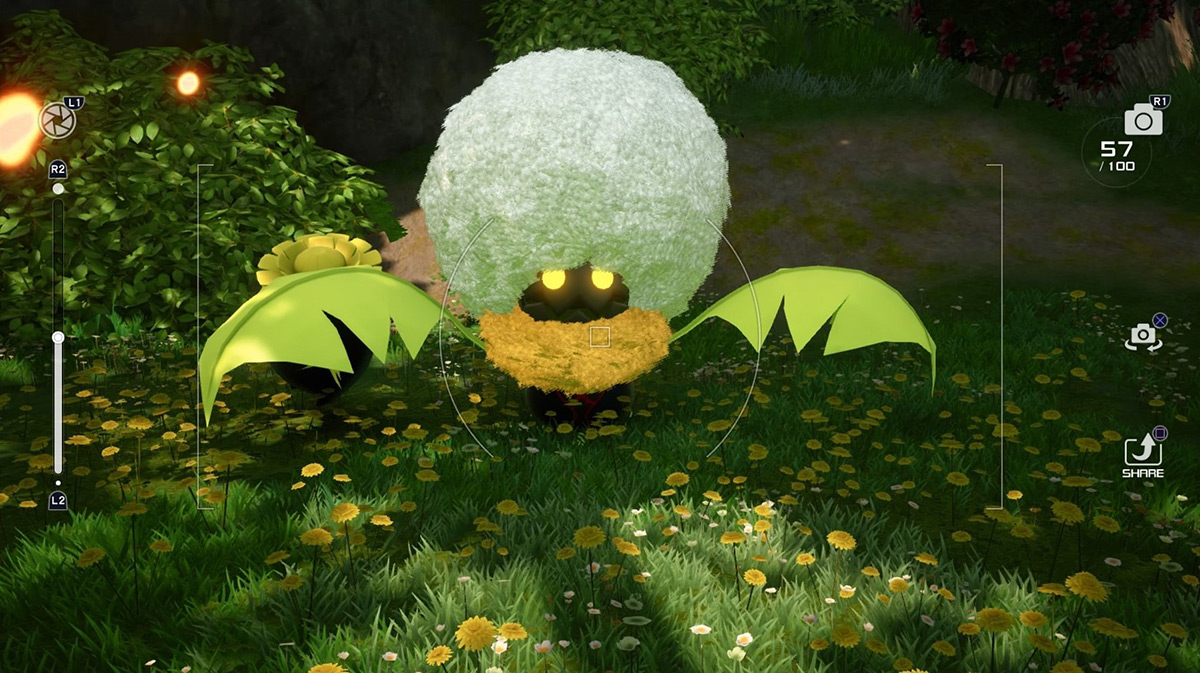 |
Mask Rosette |
| 4 | “I can’t get over those chiseled muscles, kupo!” | The Hercules statue in Olympus | 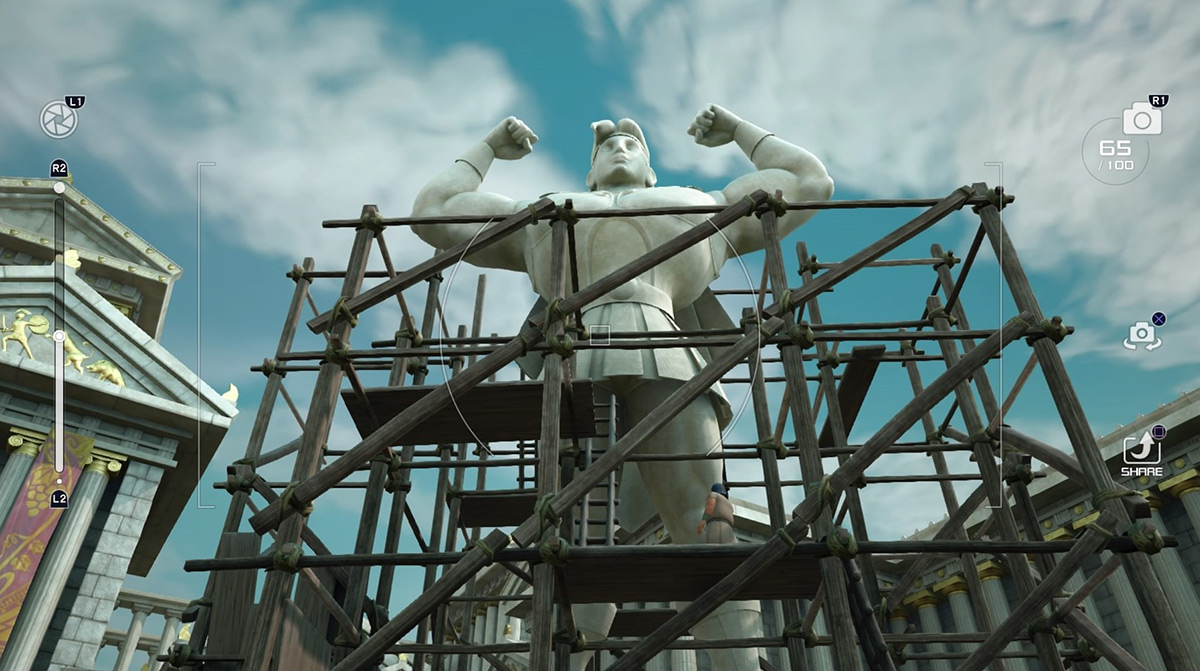 |
Cosmic Ring |
| 5 | “Mechasmasher’s busting through the wall, kupo!” | The wall display robot in a store in Toy Box | 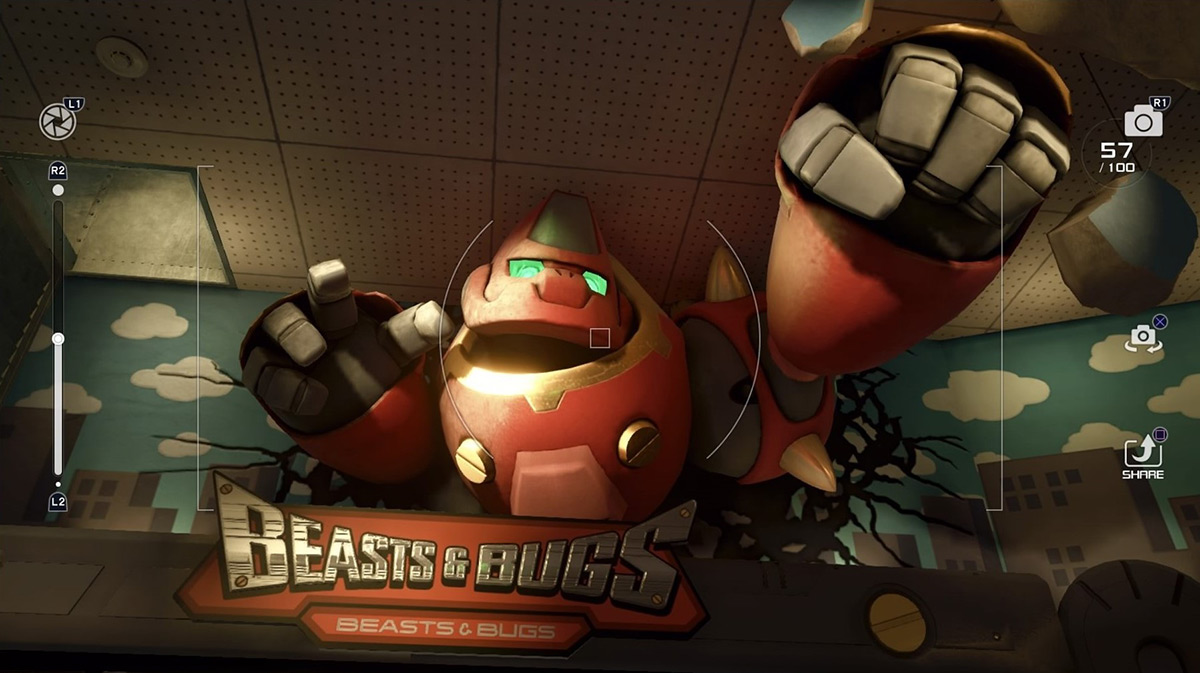 |
Soldier’s Earring |
| 6 | “Who built that tower in the forest, kupo?” | Rapunzel’s tower in the Kingdom of Corona | 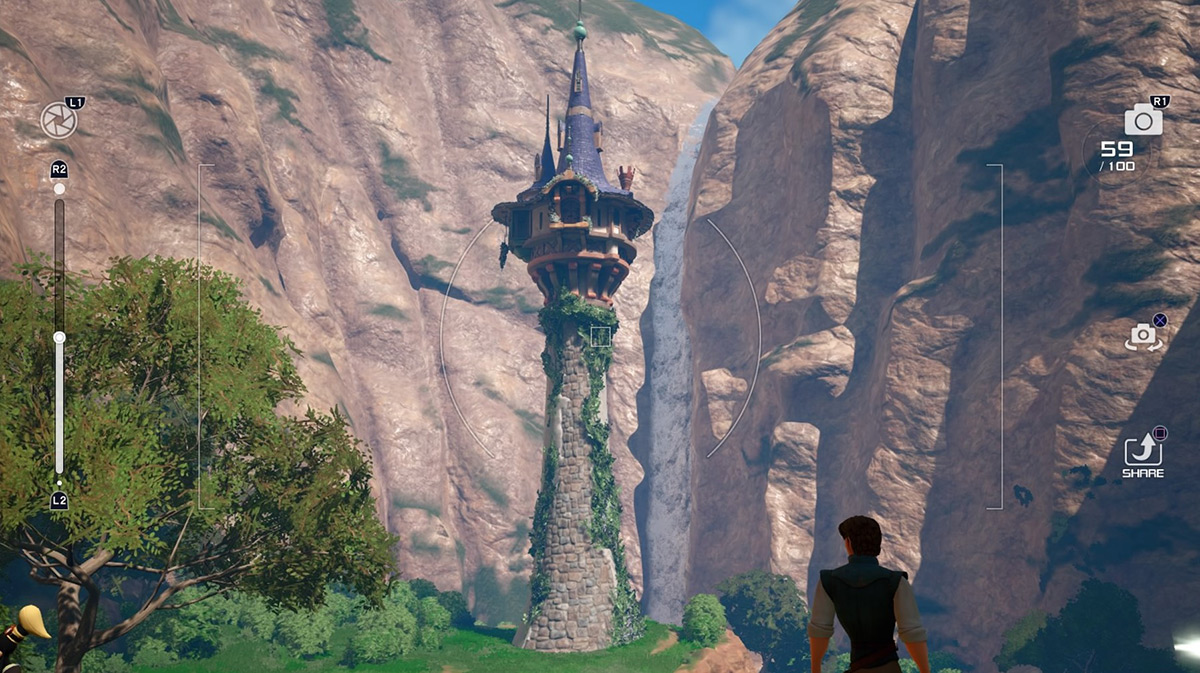 |
Mage’s Earring |
| 7 | “Wish I could ditch work and see the festival, kupo!” | The festival in the Kingdom of Corona | 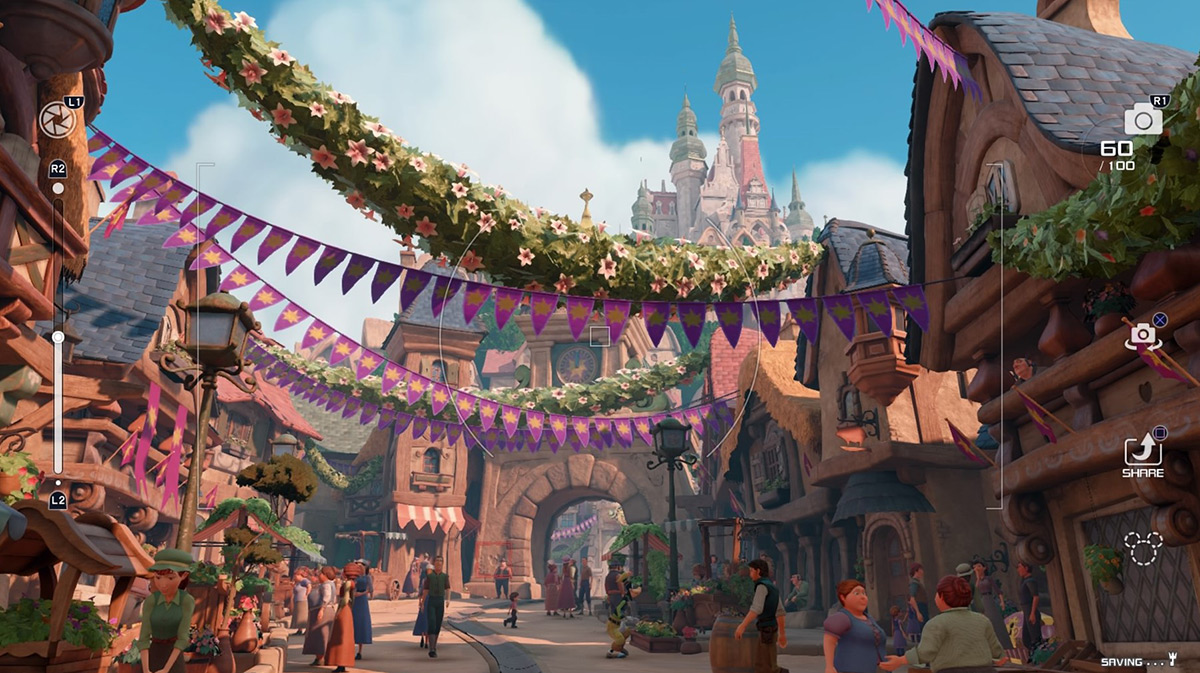 |
Moon Amulet |
| 8 | “It takes a hot fire to forge lightning bolts, kupo!” | The fireplace in the Secluded Forge in Olympus | 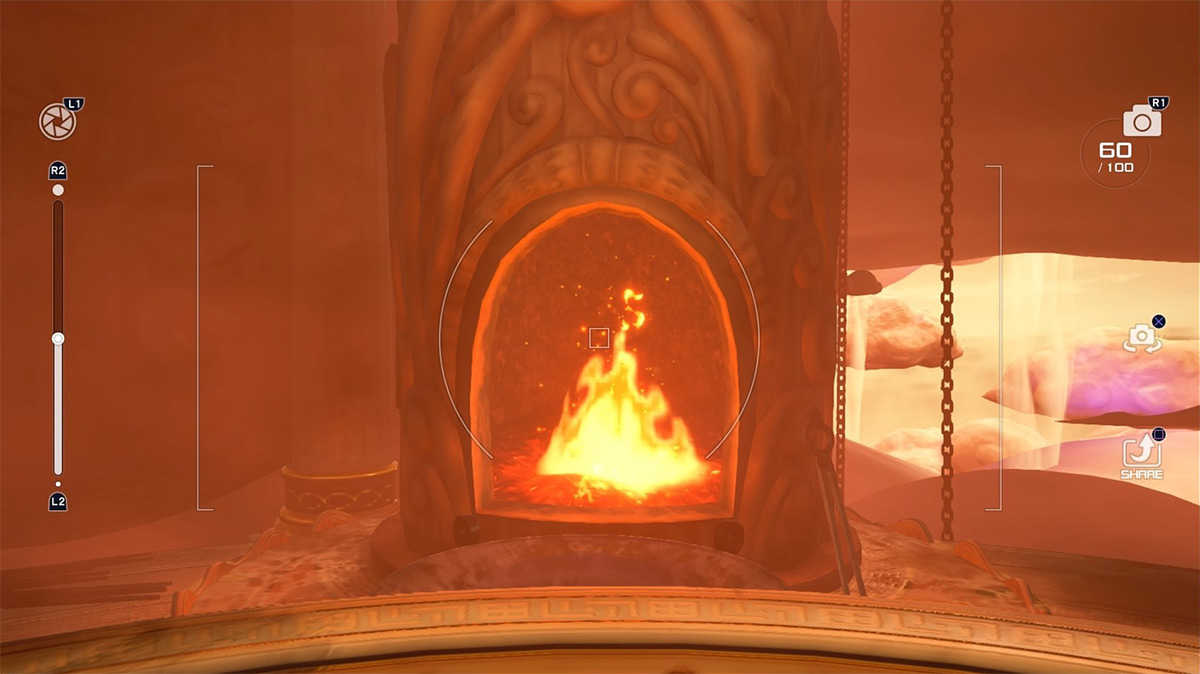 |
Fire Chain |
| 9 | “‘King of the Gods’ to some, ‘Dad’ to others, kupo.” | Zeus in Olympus | 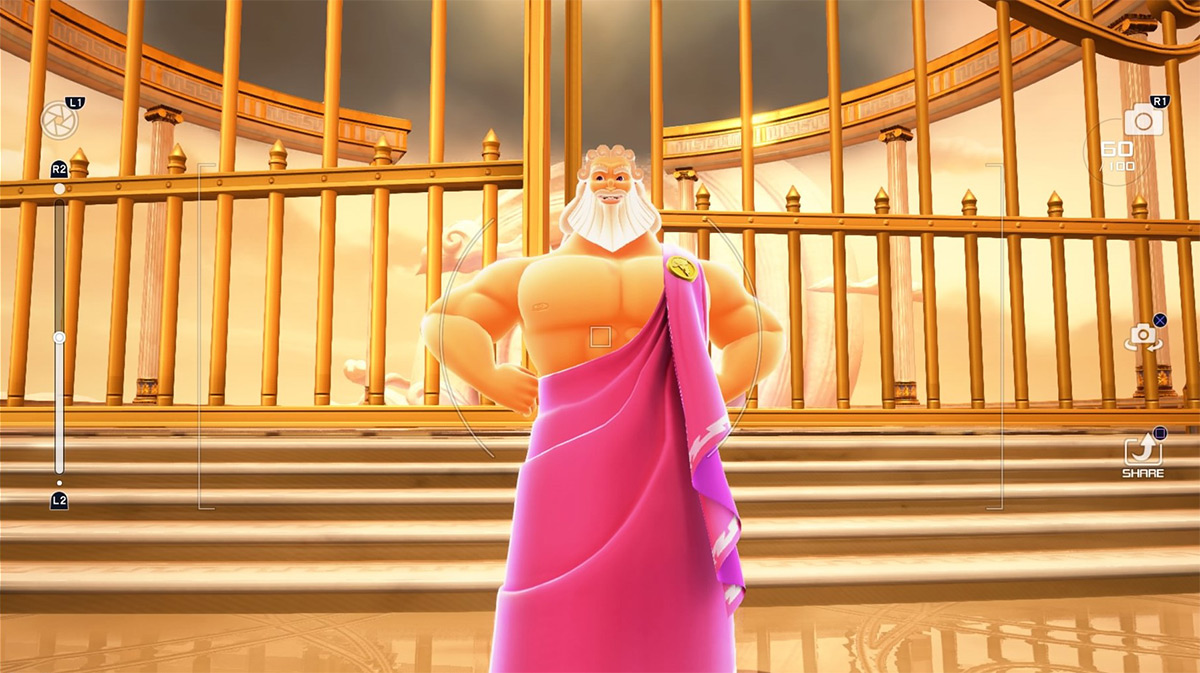 |
Thunder Chain |
| 10 | “I love watching the tram go by at twilight, kupo.” | The tram in Twilight Town | 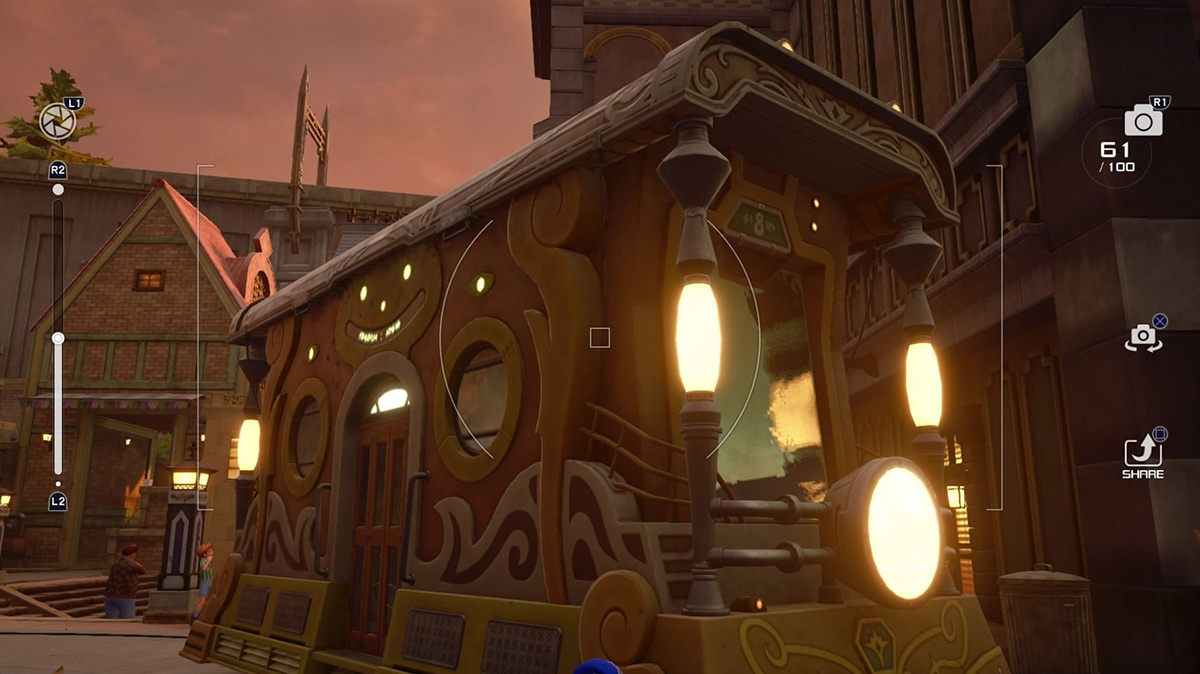 |
Draw Ring |
| 11 | “Give that hard worker in yellow a raise, kupo!” | The CDA agents in Monstropolis | 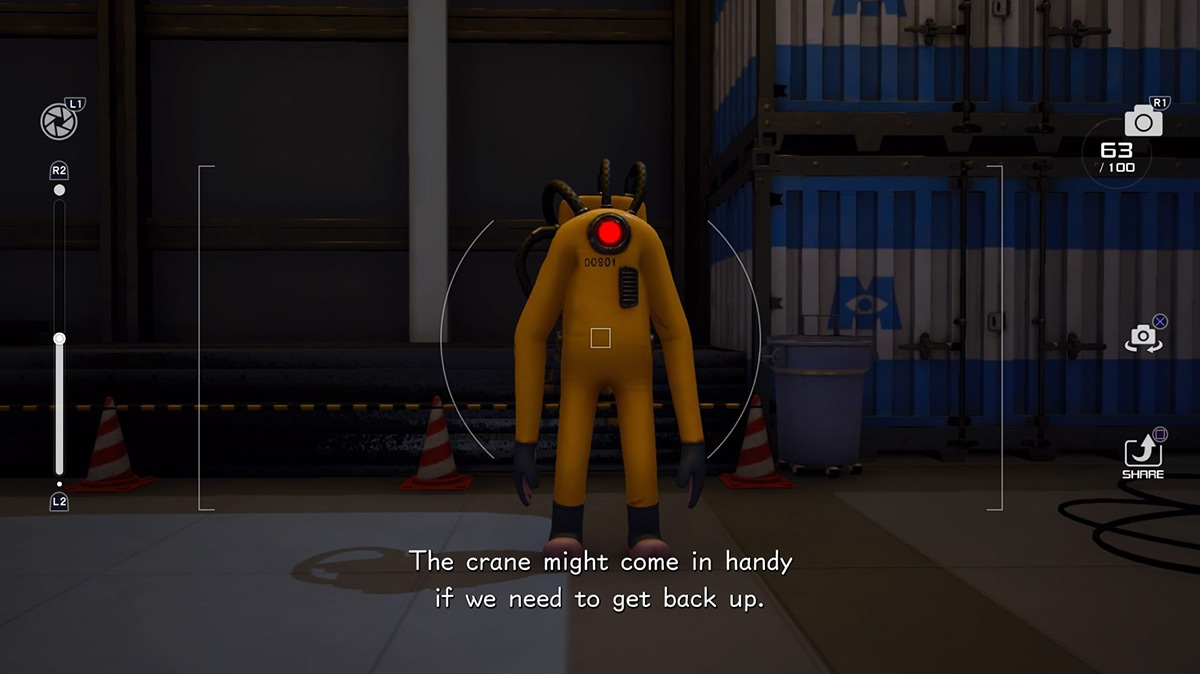 |
Insulator Rosette |
| 12 | “Somehow I doubt that palace has a fireplace, kupo.” | Elsa’s palace in Arendelle | 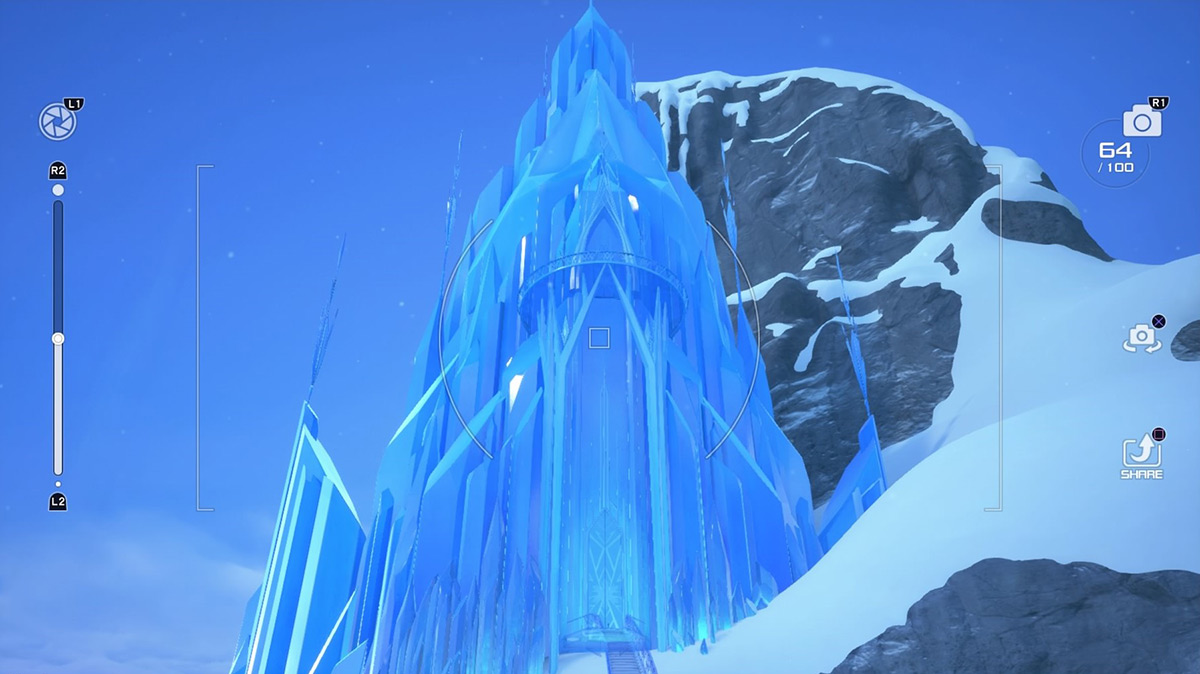 |
Blizzard Chain |
| 13 | “I think I saw a walking, talking snowman, kupo!” | Olaf in Arendelle | 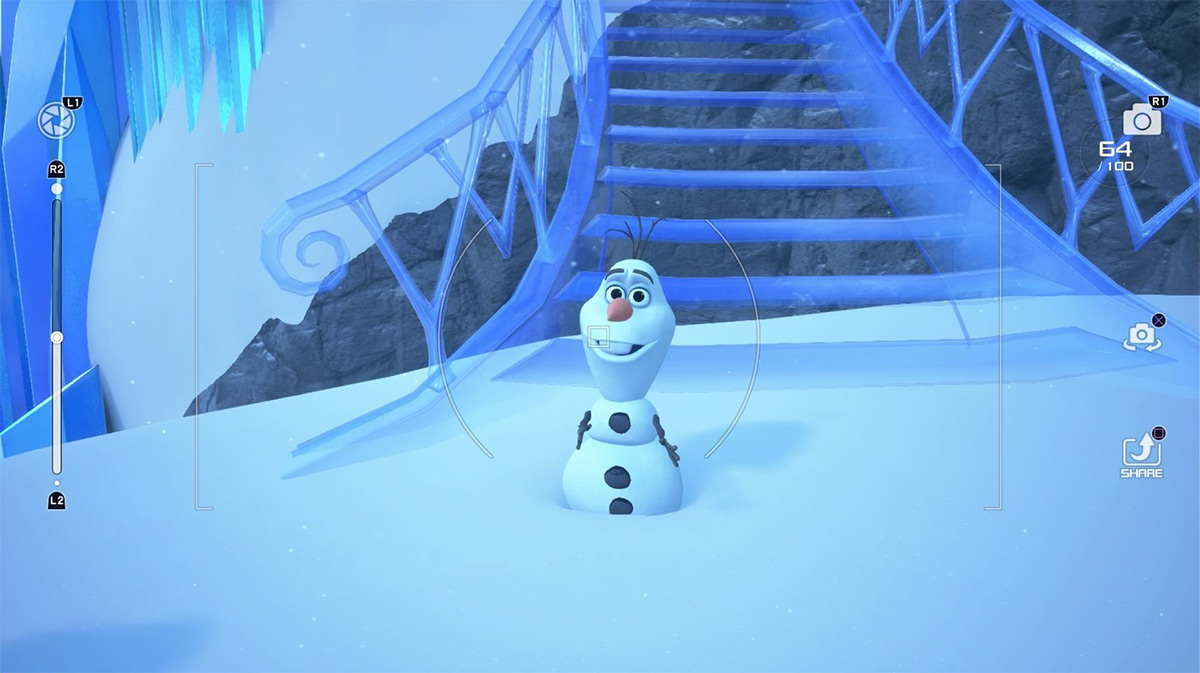 |
Snowman Rosette |
| 14 | “Wait kupo… That green guy looks familiar, kupo!” | The giant Cactuar statue in Toy Box | 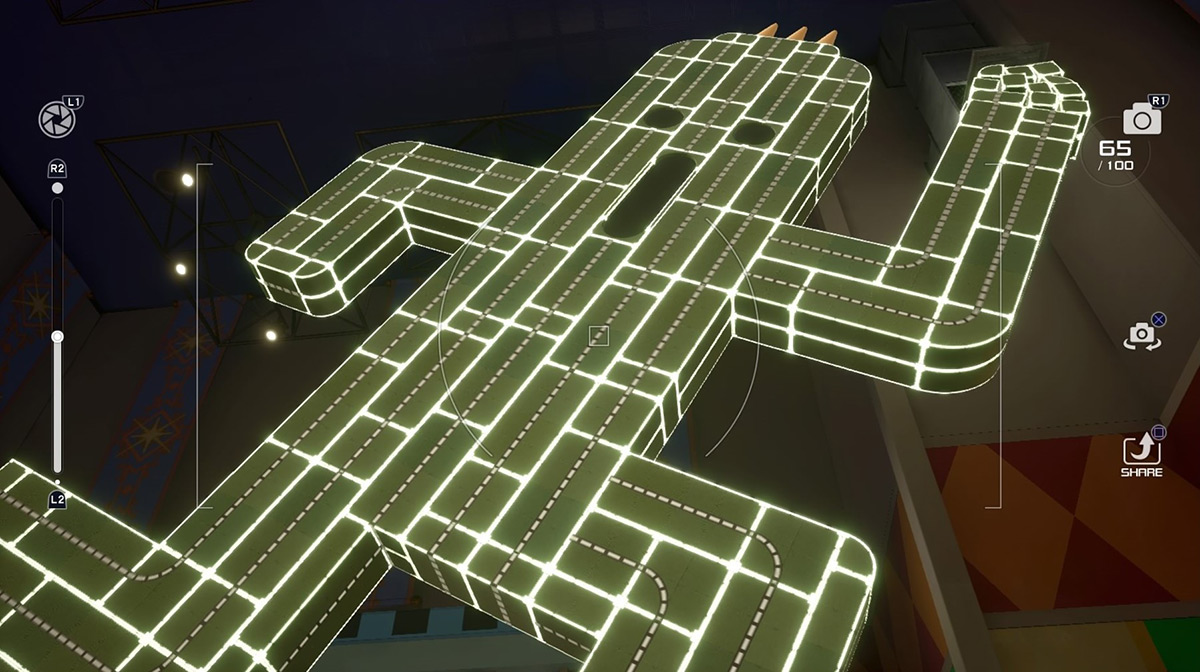 |
Fencer’s Earring |
| 15 | “He helps keep the birds out of the fields, kupo!” | The scarecrow in Hundred Acre Wood | 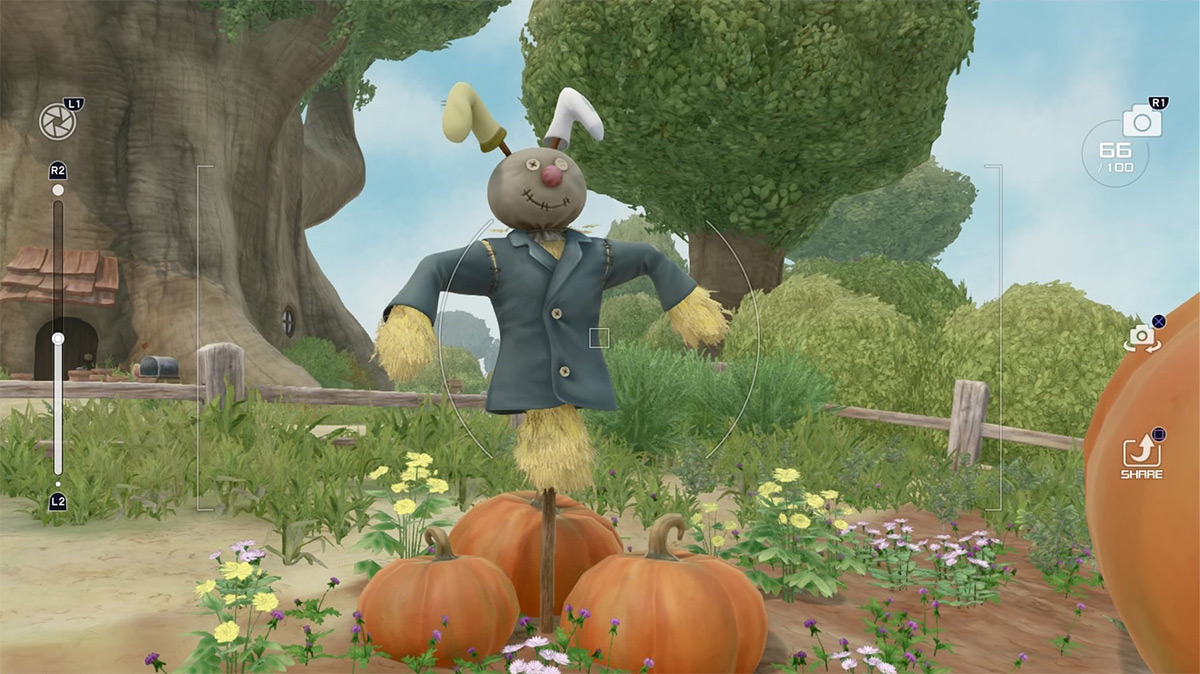 |
Slayer’s Earring |
| 16 | “There it is, kupo. My lucky star, kupo!” | A star in the sky in San Fransokyo | 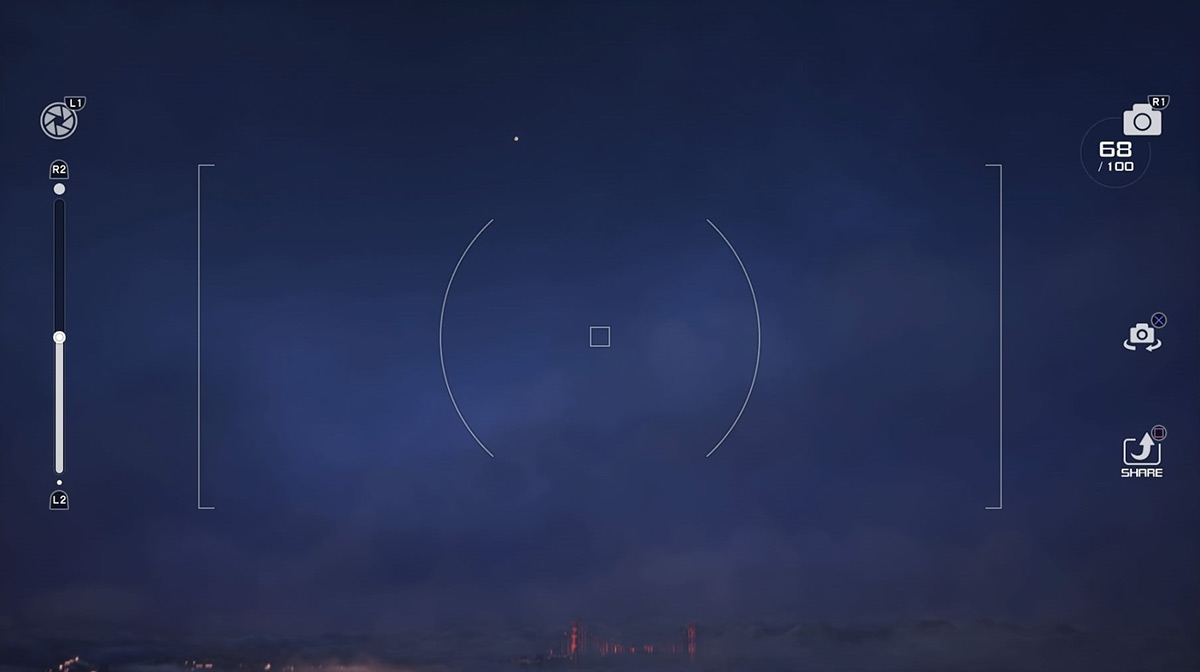 |
Star Charm |
| 17 | “Those fish are swimming through the air, kupo!” | The fish-shaped fans in San Fransokyo | 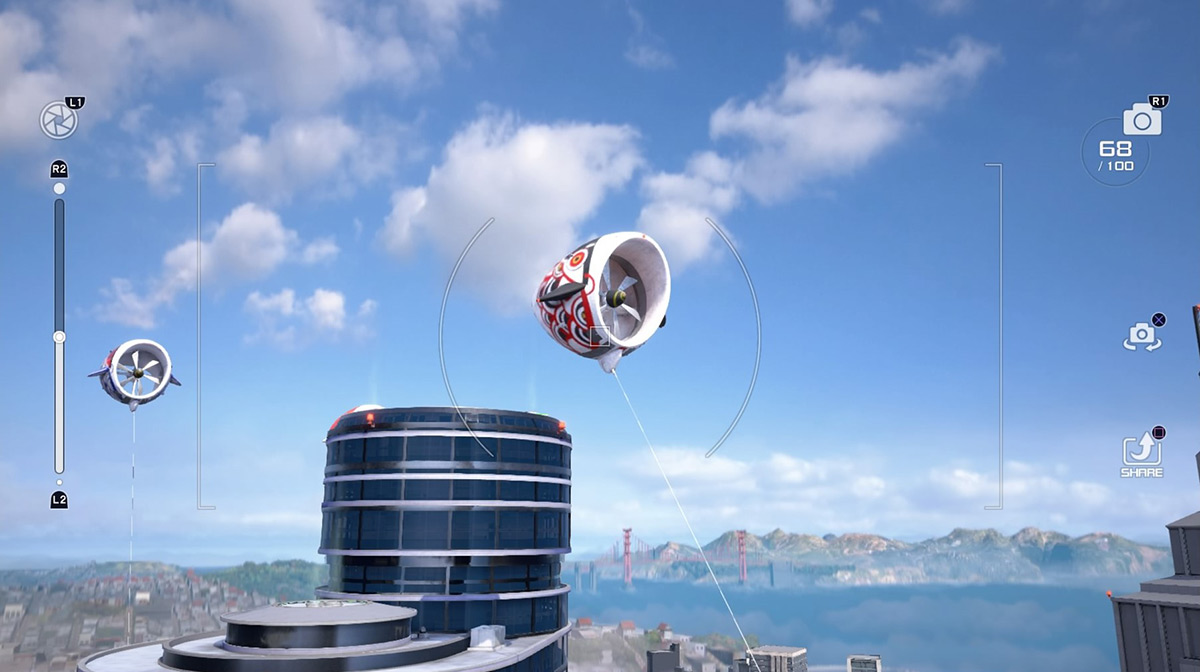 |
Aero Amulet |
| 18 | “Stay by the falls to beat the tropical heat, kupo!” | The waterfall in The Caribbean | 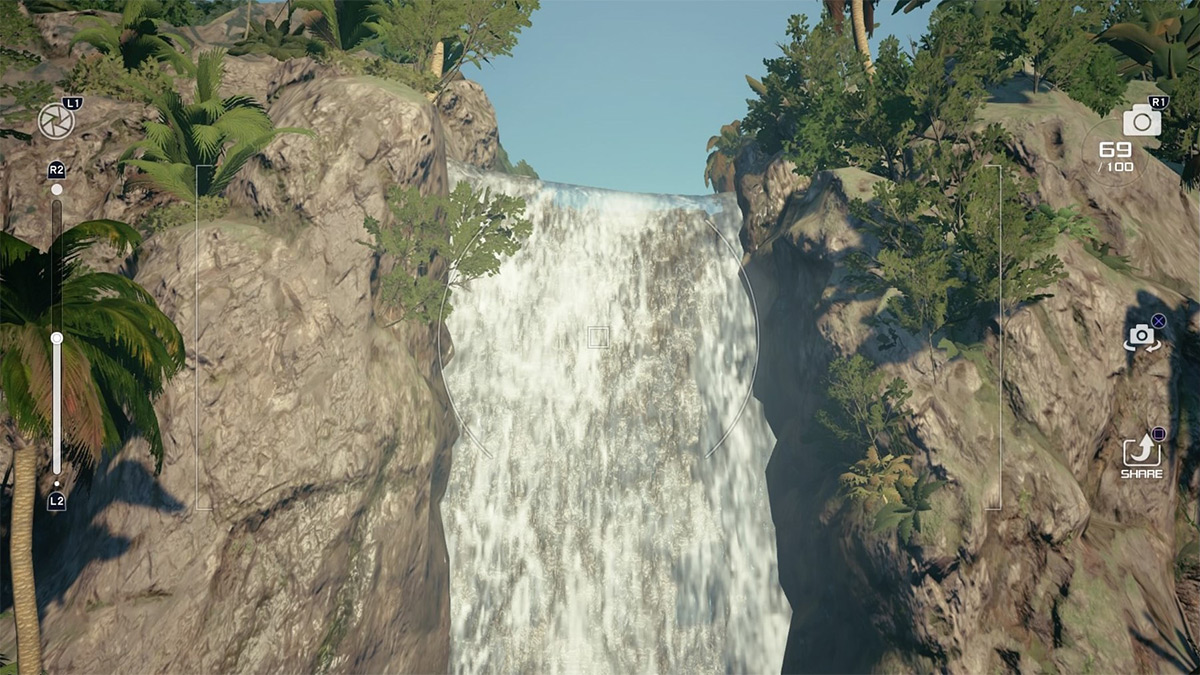 |
Aqua Chaplet |
| 19 | “Show me a creepy, shadowy swarm, kupo!” | The Demon Tower Heartless in Monstropolis | 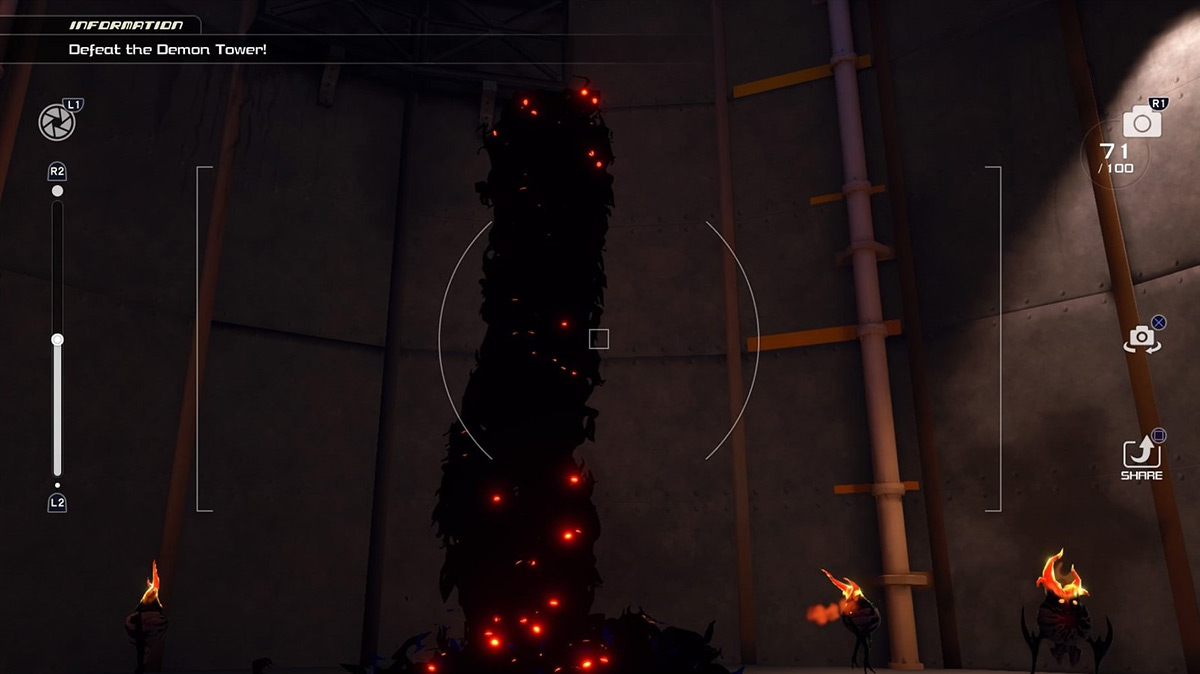 |
Dark Chain |
| 20 | “I moogle-salute all your fierce friends, kupo!” | All of Sora’s party members in the game | 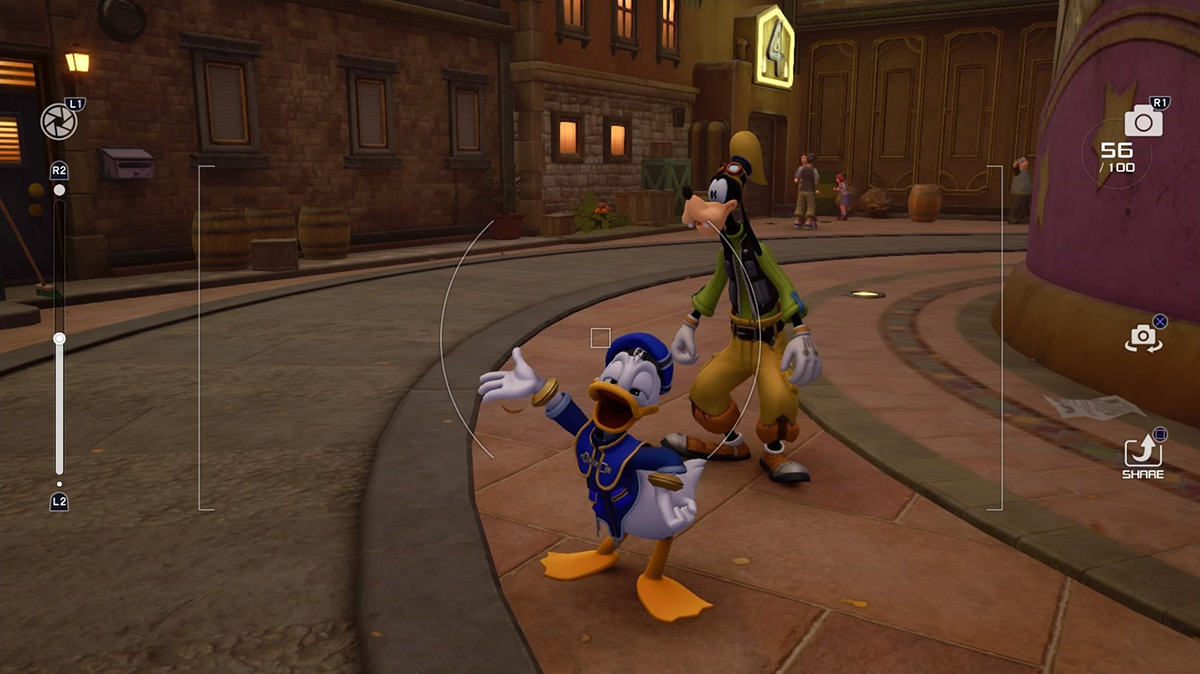 |
Petite Ribbon |
Photo Missions are a side quest in Kingdom Hearts 3 where the moogles in the Workshop ask Sora to take photos of various Heartless, NPCs, or different objects in various worlds.
Snapping these photos unlocks recipes for some of the game’s most powerful gear.
You can access Photo Missions in the Synthesis section of the Moogle Shop as soon as you receive the Gummiphone. For each mission, the moogle will give a cryptic message that hints at what you need to photograph for it. You will receive a message in red every time you’ve taken the right shot that counts for the Photo Missions.
This sidequest continues throughout the game, with new missions unlocking as you progress through the story and explore new worlds.
Photo Mission #1: Flame Core
| Description | “I need oven mitts to handle that hothead, kupo.” |
|---|---|
| Target | Flame Core |
| Location | Olympus – Thebes/Overlook |
| Unlocked After | Obtaining the Gummiphone |
| Recipe Reward | Firefighter Rosette |
In the first Photo Mission, you need to take a picture of a Flame Core Heartless found in Olympus.
Warp to the Overlook save point and head downstairs behind you.
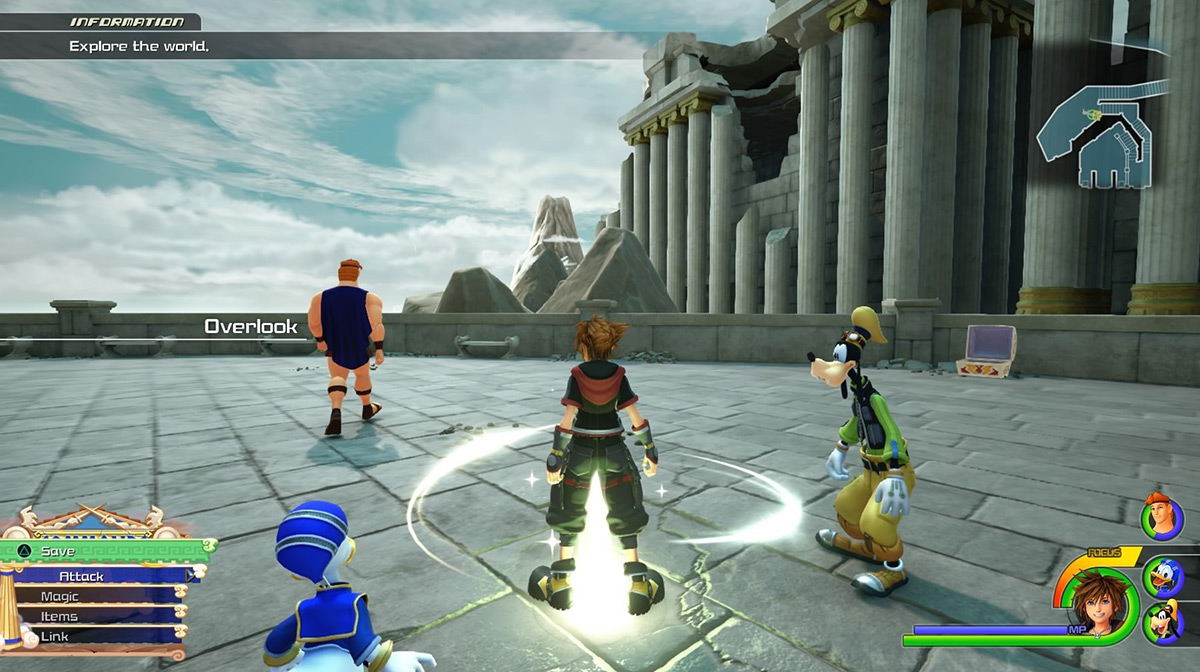
At the bottom of the stairs, your first enemies will be the Flame Cores.
These are dark, urn-shaped Heartless with flaming horns and glowing eyes.
It can be tricky to get the shot because the targets keep moving. Take multiple pictures to make sure at least one registers.

Photo Mission #2: Water Core
| Description | “That fiend keeps getting my pom-pom wet, kupo!” |
|---|---|
| Target | Water Core |
| Location | Monstropolis – The Factory/Second Floor |
| Unlocked After | Obtaining the Gummiphone |
| Recipe Reward | Umbrella Rosette |
For the second Photo Mission you need a picture of the Water Core Heartless.
These Heartless have blue icicles growing underneath and they float around with jets of water swirling all over them.
The easiest spot to find Water Cores is in the Montropolis world. Land at the Ground Floor save point in the Factory and take the elevator up to the second floor.
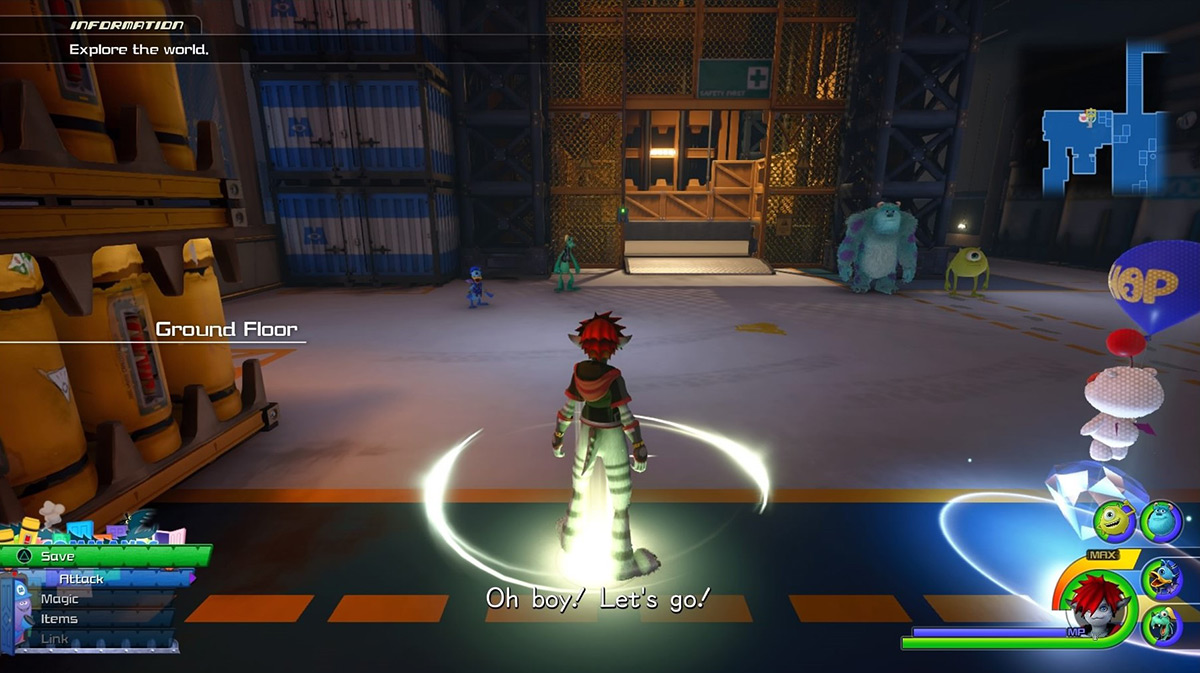
Follow the corridor and you’ll find some Water Cores in the first room you enter.
Taking their photo can get a little fidgety since they zoom around a lot while attacking. A neat trick is to equip your camera before the battle starts and snap the shot as soon as they spawn.

Photo Mission #3: Chief Puff
| Description | “Fluffy doesn’t always mean nice, kupo!” |
|---|---|
| Target | Chief Puff |
| Location | Kingdom of Corona – The Forest/Hills |
| Unlocked After | Completing Twilight Town |
| Recipe Reward | Mask Rosette |
The third Photo Mission requires you to take a photo of the Chief Puff Heartless found in the Kingdom of Corona. These plant-like Heartless are easily identifiable by their large wooly afros.
Warp in from the Tower save point and head into the cave behind you.
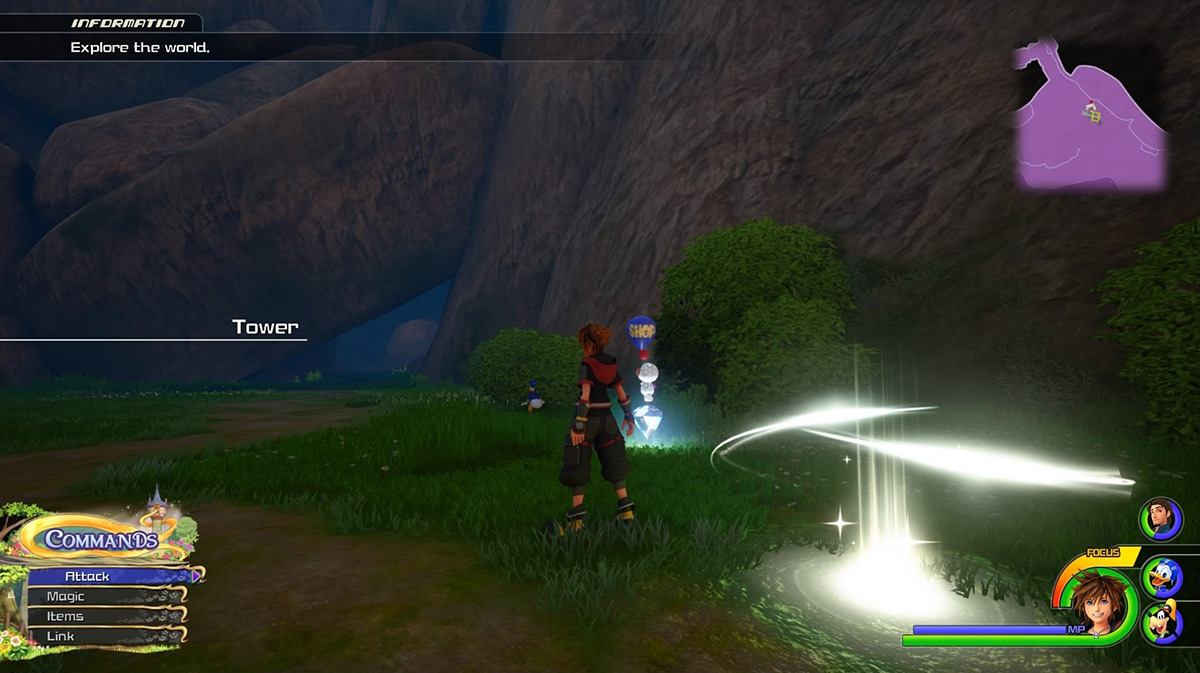
Exit the tunnel and head northwest through the Hills until you reach a narrow passage that opens into a large clearing.
Here, four Chief Puffs will spawn.

Photo Mission #4: Hercules Statue
| Description | “I can’t get over those chiseled muscles, kupo!” |
|---|---|
| Target | Hercules statue |
| Location | Olympus – Thebes/Agora |
| Unlocked After | Completing Twilight Town |
| Recipe Reward | Cosmic Ring |
For the fourth Photo Mission you must take the picture of the giant Hercules statue in Olympus.
Return to Olympus after completing the story section and warp in from the Agora save point in Thebes.
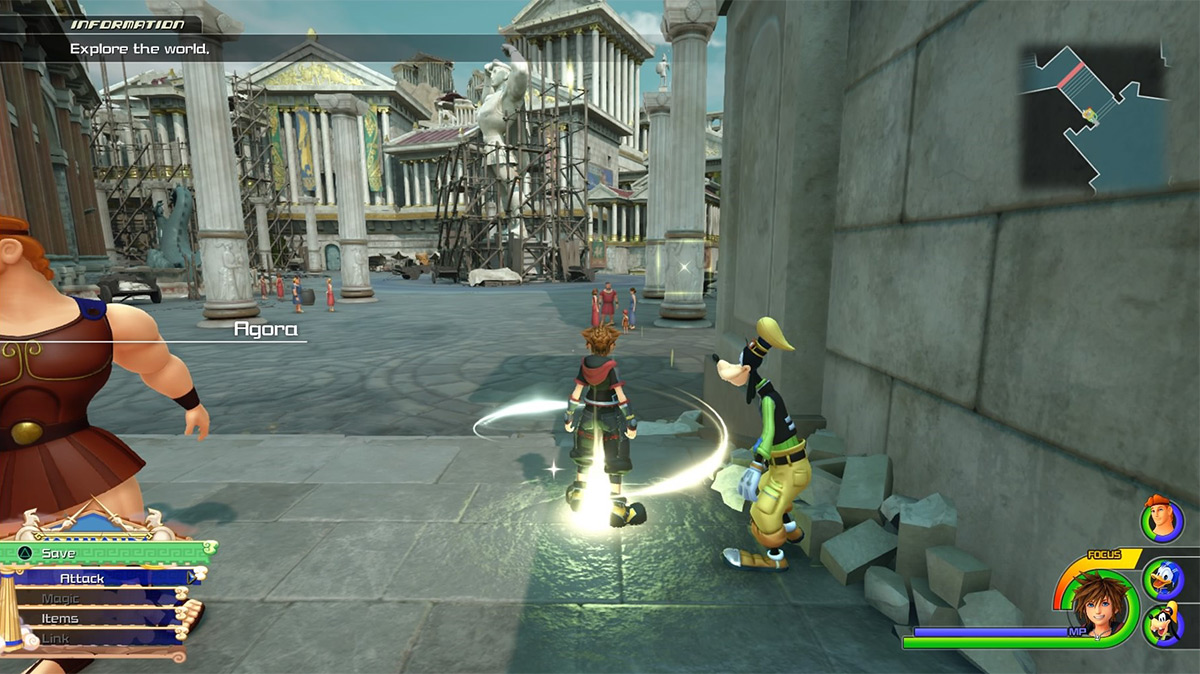
In the center of the square, you’ll find the massive, white Hercules statue under construction.
Simply focus on the upper part of the statue and take the shot.

Photo Mission #5: Robot Wall Display
| Description | “Mechasmasher’s busting through the wall, kupo!” |
|---|---|
| Target | Robot wall display |
| Location | Toy Box – Galaxy Toys/Action Plus Store |
| Unlocked After | First visit to Galaxy Toys |
| Recipe Reward | Soldier’s Earring |
For the fifth Photo Mission, photograph the wall display of the robot in one of Galaxy Toys’ stores in Toy Box.
Enter from the Rest Area save point and head north towards the Action Plus store.
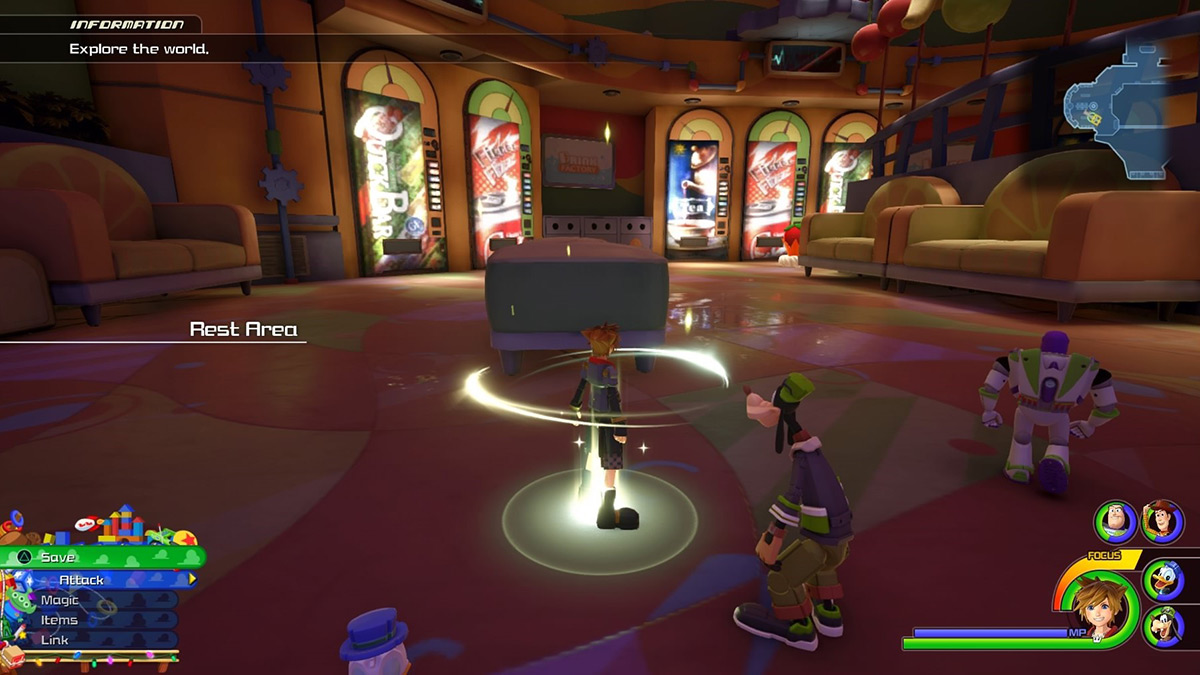
You can find the wall display at the back of the store.
The robot Mechasmasher will appear as if bursting through the wall over the Beasts and Bugs sign. Focus on the robot along with the sign for good measure and take the shot.

Photo Mission #6: Rapunzel’s Tower
| Description | “Who built that tower in the forest, kupo?” |
|---|---|
| Target | Rapunzel’s Tower |
| Location | Kingdom of Corona – The Forest/Tower |
| Unlocked After | First visit to Rapunzel’s tower |
| Recipe Reward | Mage’s Earring |
The sixth Photo Mission simply requires you to take a picture of Rapunzel’s Tower.
Warp in from the Tower save point and the tower will be right in front of you.
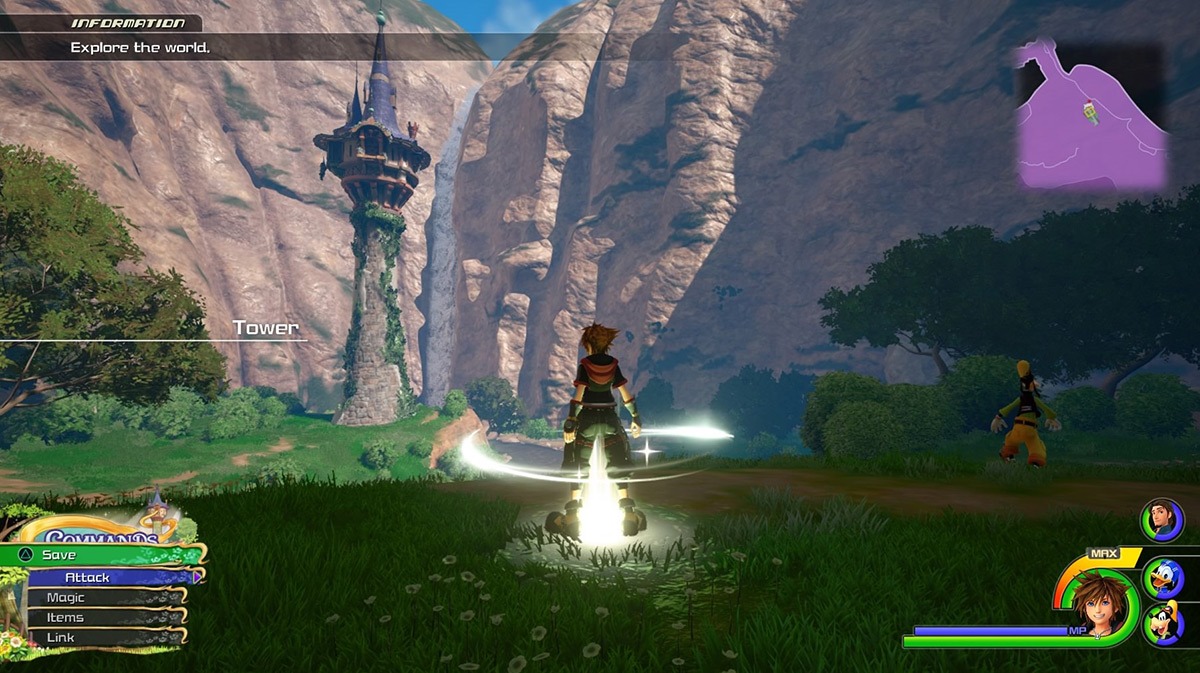
Just stay on the spot and focus your camera to get the full view of the Tower and take the shot.

Photo Mission #7: The Festival
| Description | “Wish I could ditch work and see the festival, kupo!” |
|---|---|
| Target | The Festival |
| Location | Kingdom of Corona – The Kingdom/Thoroughfare |
| Unlocked After | First visit to the Kingdom |
| Recipe Reward | Moon Amulet |
For the seventh Photo Mission, you need to capture a photograph of the festival taking place in the Kingdom of Corona.
Warp in from the Thoroughfare save point and you will arrive at the entrance of the town.
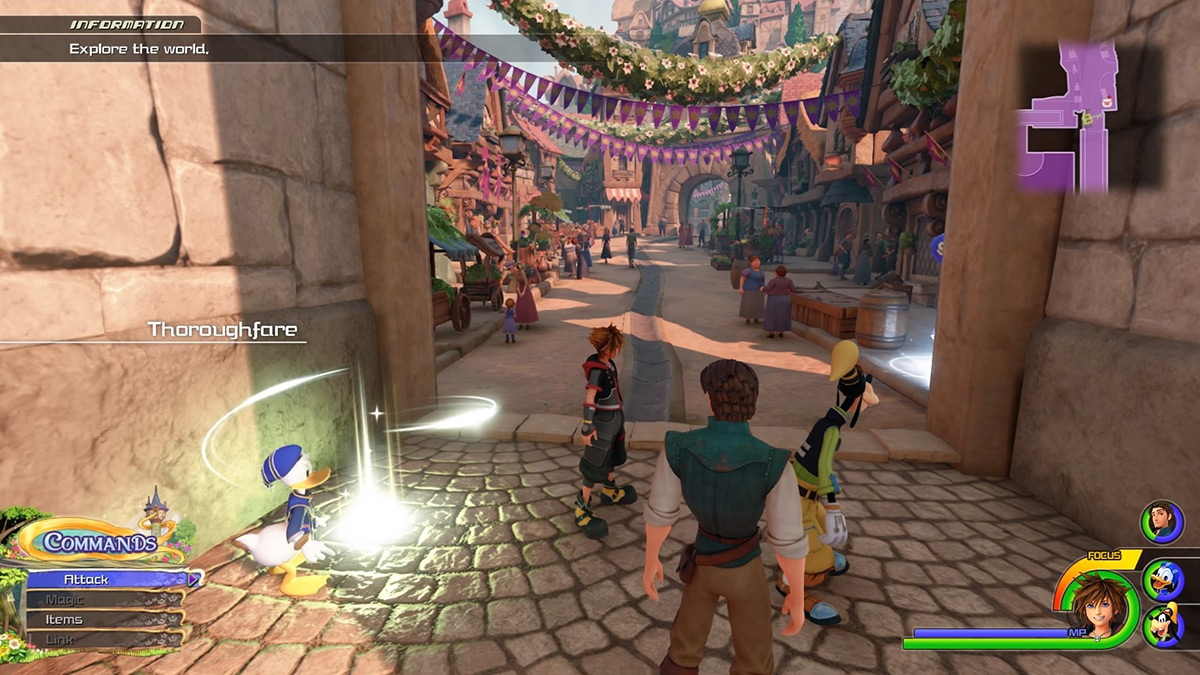
The whole town is basically the scene of the festival, and you can take the picture from anywhere to make it count, as long as you include the streamers hanging between houses.
To be sure, take the shot from the entrance of the town to get the whole street in view.

Photo Mission #8: Fireplace in the Secluded Forge
| Description | “It takes a hot fire to forge lightning bolts, kupo!” |
|---|---|
| Target | Fireplace in the Secluded Forge |
| Location | Olympus – The Realm of the Gods/Corridors |
| Unlocked After | Completing Toy Box and Kingdom of Corona |
| Recipe Reward | Fire Chain |
In the eighth Photo Mission you must photograph the fireplace in the Secluded Forge in Olympus.
Enter from the Corridors save point in the Realm of the Gods area.
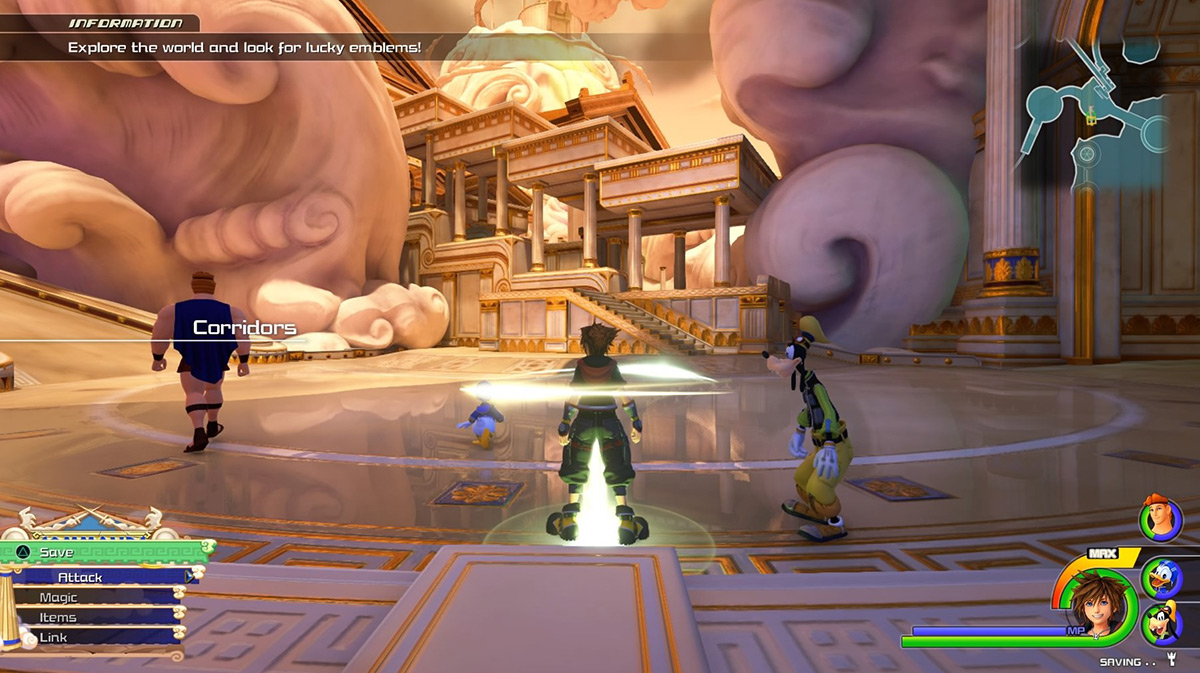
Take the stairs up ahead to find a blue rail grind.
Avoid this rail and climb the next set of stairs to the right to find another blue rail.
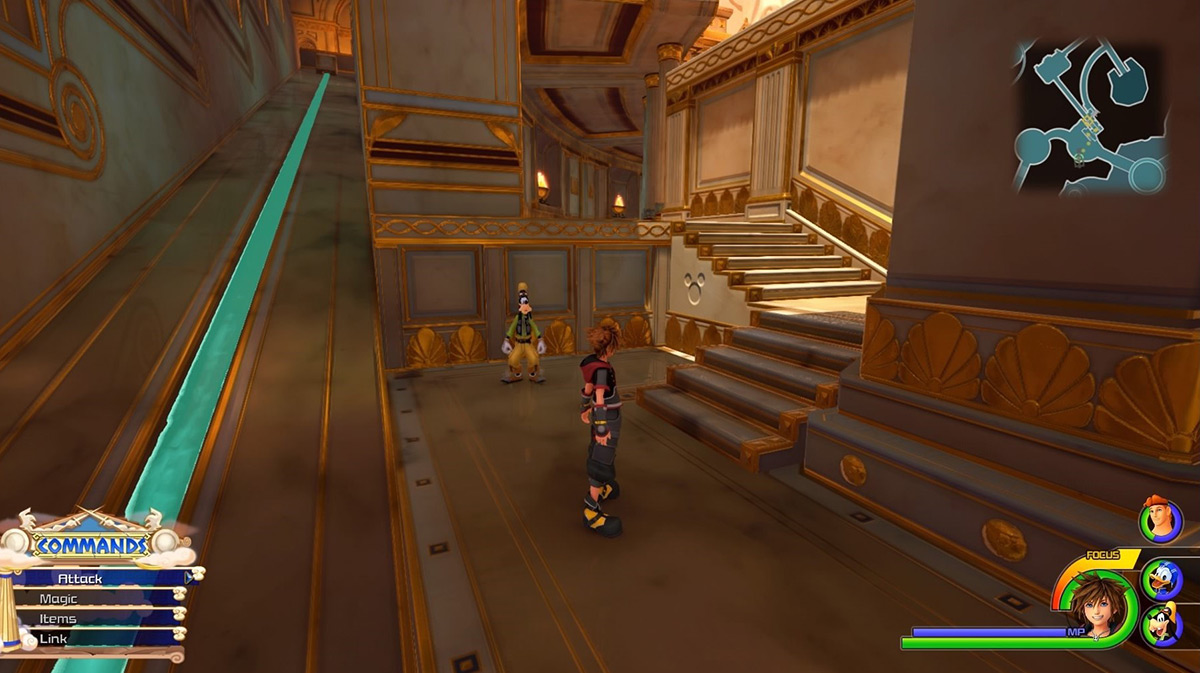
Grind on this one and you will drop down into the Secluded Forge.
You will find the fireplace in front of the giant anvil. Take a close-up shot of the fireplace to complete the mission.

Photo Mission #9: Zeus
| Description | “‘King of the Gods’ to some, ‘Dad’ to others, kupo.” |
|---|---|
| Target | Zeus |
| Location | Olympus- The Realm of the Gods/Apex |
| Unlocked After | Completing Toy Box and Kingdom of Corona |
| Recipe Reward | Thunder Chain |
The ninth Photo Mission is another simple one where you just have to snap a picture of the mighty thunder god Zeus in Olympus.
Warp in from the Apex save point in the Realm of the Gods and head up the stairs behind you.
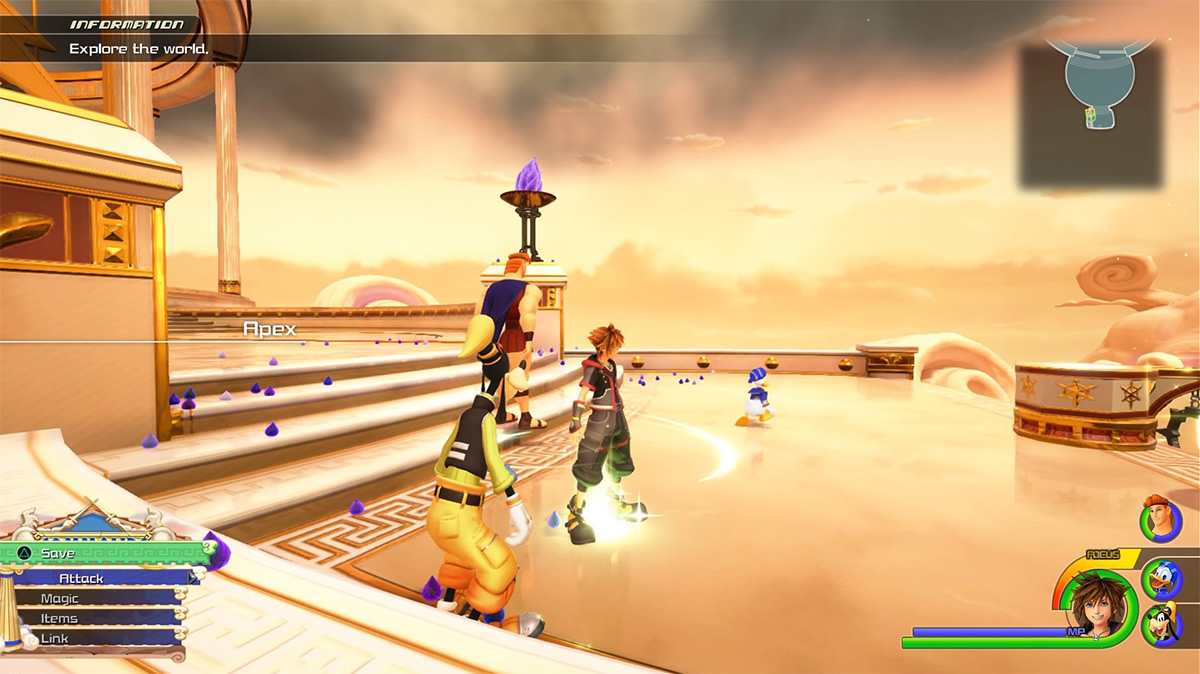
Zeus will be standing in front of the golden gates, ready to pose for the camera.

Photo Mission #10: The Tram
| Description | “I love watching the tram go by at twilight, kupo.” |
|---|---|
| Target | The tram |
| Location | Twilight Town – The Neighborhood/Tram Common |
| Unlocked After | Completing Toy Box and Kingdom of Corona |
| Recipe Reward | Draw Ring |
For the tenth Photo Mission, you need to take a picture of the tram running across Twilight Town.
Enter from the Tram Common save point and wait for the tram to roll by.
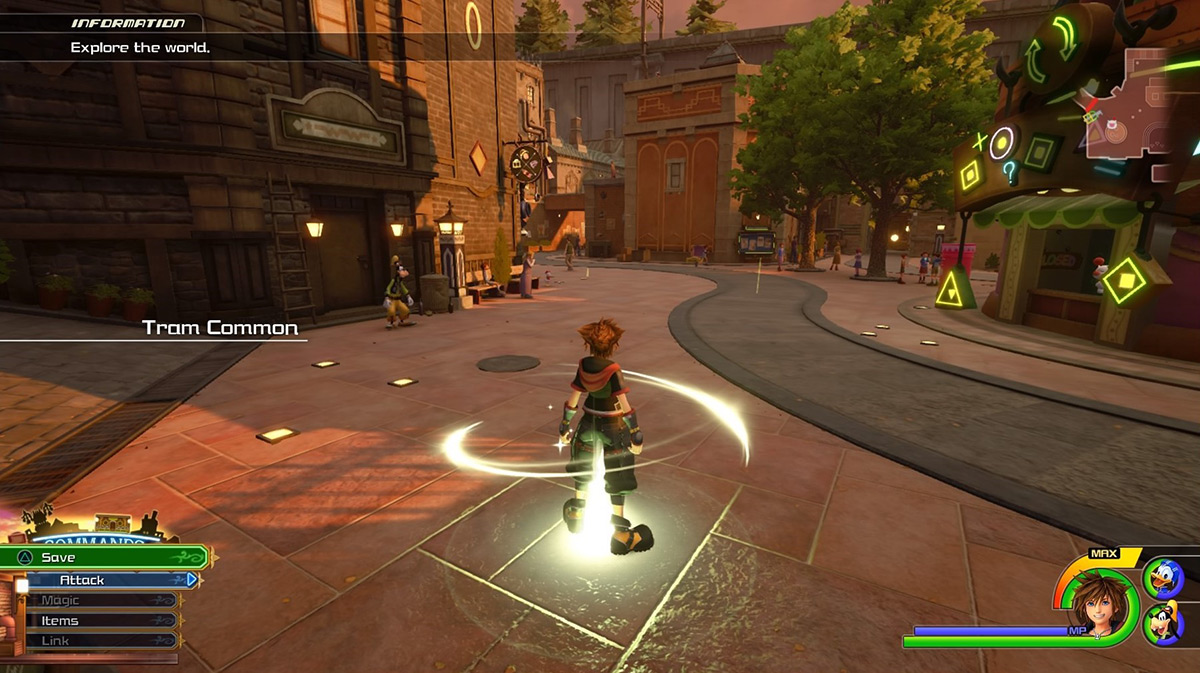
Since the tram is continuously on the move, you might not get the right shot at first. To improve your chances, take the shot when it’s making a turn, so you can get the whole side angle in the frame.

Photo Mission #11: CDA Agents
| Description | “Give that hard worker in yellow a raise, kupo!” |
|---|---|
| Target | CDA agents |
| Location | Monstropolis – The Power Plant/Tank Yard |
| Unlocked After | The appearance of CDA agents during the Monstropolis storyline |
| Recipe Reward | Insulator Rosette |
The eleventh Photo Mission requires you to take a picture of one of the CDA agents that appear in Monstropolis.
However, you must have reached the part of the story where the agents show up to access this mission.
The fastest way to find one of these agents is in the Tank Yard section of The Power Plant. Just warp in from the Tank Yard save point and look around the room to find one of the yellow-clad dudes busy in one of their inspections.
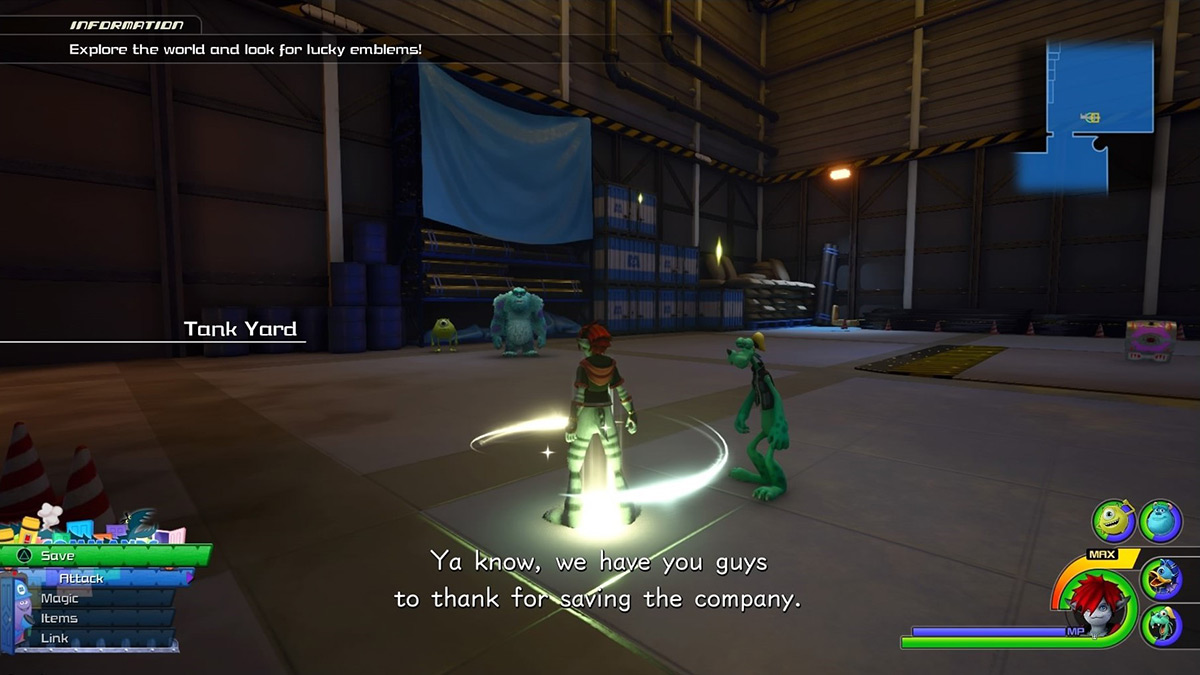
Take a close-up of them and you can easily register the shot for the mission.

Photo Mission #12: Elsa’s Palace
| Description | “Somehow I doubt that palace has a fireplace, kupo.” |
|---|---|
| Target | Elsa’s palace |
| Location | Arendelle – The North Mountain/Mountain Ridge |
| Unlocked After | First visit to Arendelle |
| Recipe Reward | Blizzard Chain |
For the twelfth Photo Mission, head over to Arendelle and take a picture of Elsa’s ice palace.
You need to enter from the Mountain Ridge save point and look up the mountain to your left.
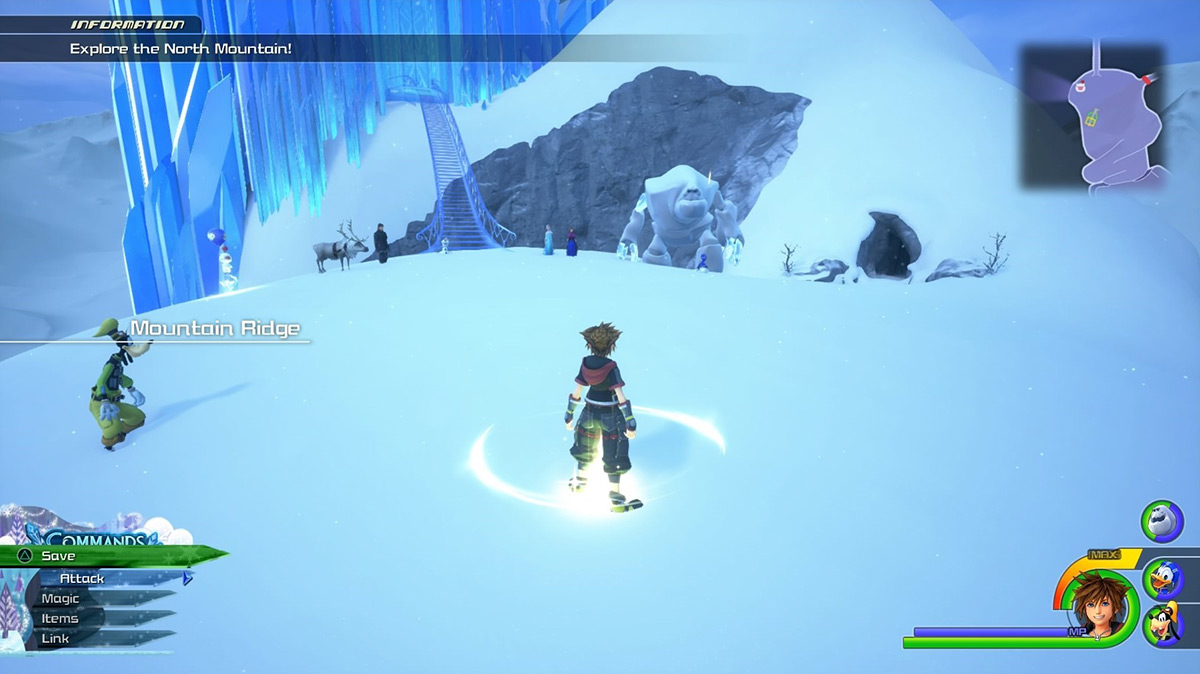
The blue crystalline palace sits on the side of the mountain. Simply focus on the palace and take the shot.

Photo Mission #13: Olaf
| Description | “I think I saw a walking, talking snowman, kupo!” |
|---|---|
| Target | Olaf |
| Location | Arendelle – The North Mountain/Mountain Ridge |
| Unlocked After | Meeting Olaf |
| Recipe Reward | Snowman Rosette |
For the thirteenth Photo Mission, all you need to do is take a picture of Olaf the snowman in Arendelle.
You can take this photo during the story section of the game, where you need to find all of Olaf’s body parts.
But even if you missed it during the story bit, you can always find Olaf stationed in front of Elsa’s ice palace. Just warp in from the Mountain Ridge save point and take a close-up shot of Olaf in a nice pose.

Photo Mission #14: Cactuar Statue
| Description | “Wait kupo… That green guy looks familiar, kupo!” |
|---|---|
| Target | Cactuar statue |
| Location | Toy Box – Galaxy Toys/Kid Korral |
| Unlocked After | Completing Monstropolis and Arendelle |
| Recipe Reward | Fencer’s Earring |
For the fourteenth Photo Mission, you have to take a photograph of the giant cactuar statue in Toy Box.
Land at the Kid Korral save point and head into the play area outside.
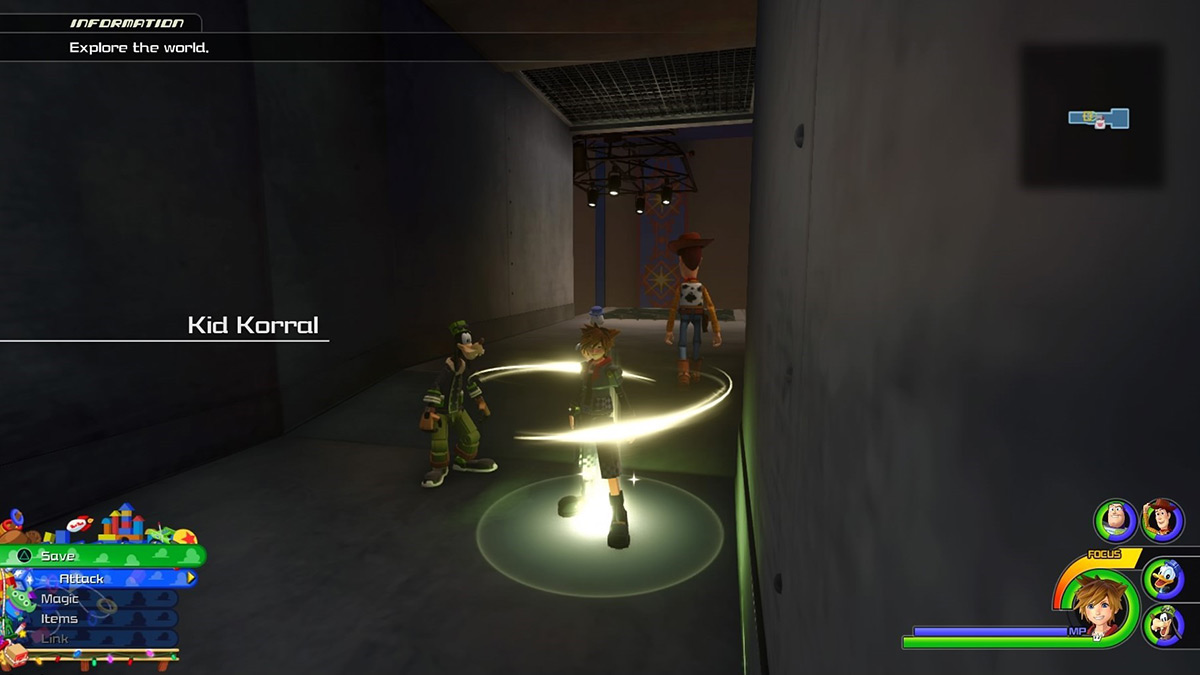
Here you’ll find the giant cactuar statue you built earlier to reach the vents.
First, clear out all the enemies to avoid distractions, and snap a picture of the cactuar from far back to get the whole thing in the frame.

Photo Mission #15: Scarecrow
| Description | “He helps keep the birds out of the fields, kupo!” |
|---|---|
| Target | Scarecrow |
| Location | Twilight Town – The Neighborhood/Tram Common (Inside the Hundred Acre Wood) |
| Unlocked After | First visit to the Hundred Acre Wood |
| Recipe Reward | Slayer’s Earring |
In the fifteenth Photo Mission, you need to snap a picture of the scarecrow in the Hundred Acre Wood. To get here you must examine the book found in Twilight Town.
Enter from the Tram Common save point, then head for the Le Grand Bistrot on the south side of town. Here, you will find Merlin sitting at one of the tables with the Hundred Acre Wood book.
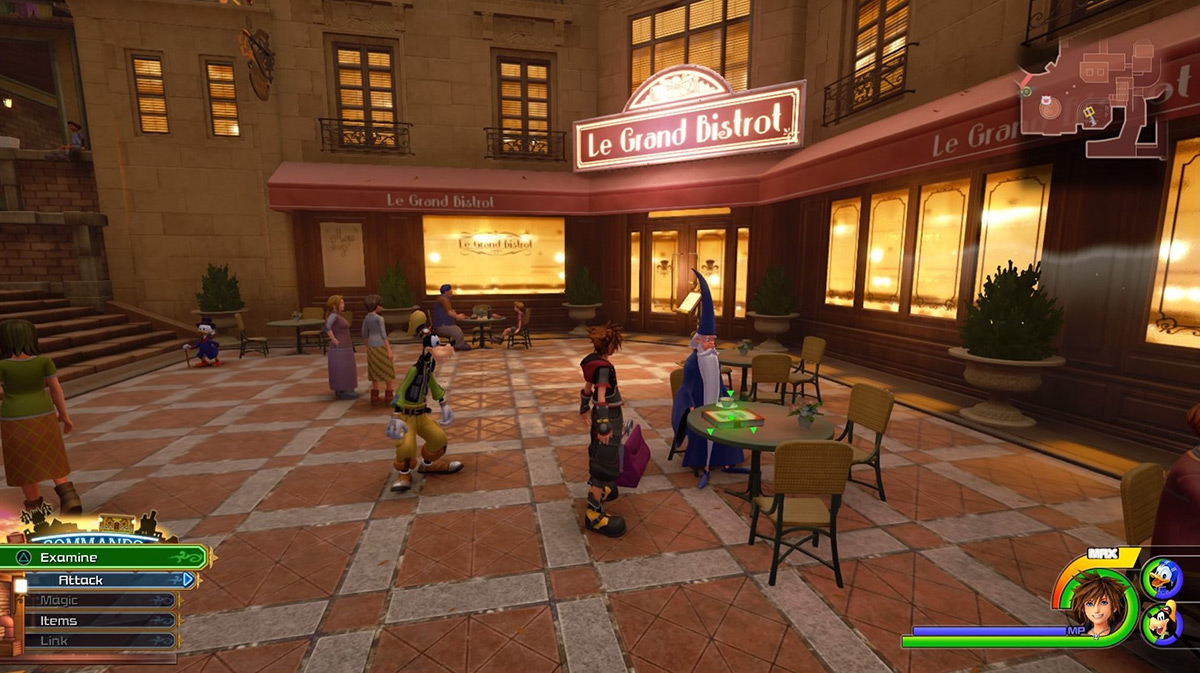
Examine the book and enter the world.
After arriving, head for the pumpkin patch to find the scarecrow right next to the giant pumpkin.
Equip your camera and take a close-up shot of the scarecrow to make it count for the mission.

Photo Mission #16: A Star
| Description | “There it is, kupo. My lucky star, kupo!” |
|---|---|
| Target | A star in the sky |
| Location | San Fransokyo – The City (anywhere during nighttime) |
| Unlocked After | First visit to The City |
| Recipe Reward | Star Charm |
For the sixteenth Photo Mission, you need to head for San Fransokyo and look for a star in the sky and take its photograph.
Enter from the North or South save points at night and climb a tall building for a clear view of the sky.
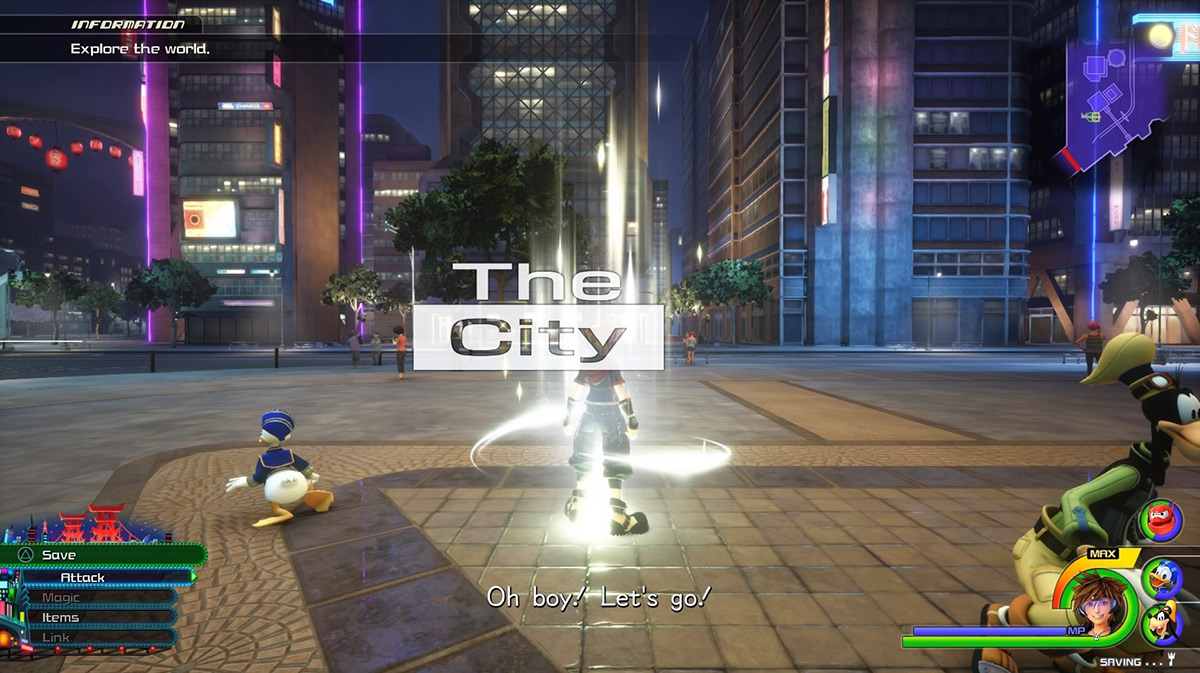
Just scour the night sky until you find the lone star shining brightly and snap its photo for the mission.

Photo Mission #17: Fish-Shaped Fans
| Description | “Those fish are swimming through the air, kupo!” |
|---|---|
| Target | Fish-shaped fans |
| Location | San Fransokyo – The City/North District: Day |
| Unlocked After | First visit to The City |
| Recipe Reward | Aero Amulet |
In the seventeenth Photo Mission, you need to find the large fans shaped like fish floating on top of one of the buildings in San Fransokyo.
Enter from the North District: Day save point and find the dark, circular building slightly left of the save point.
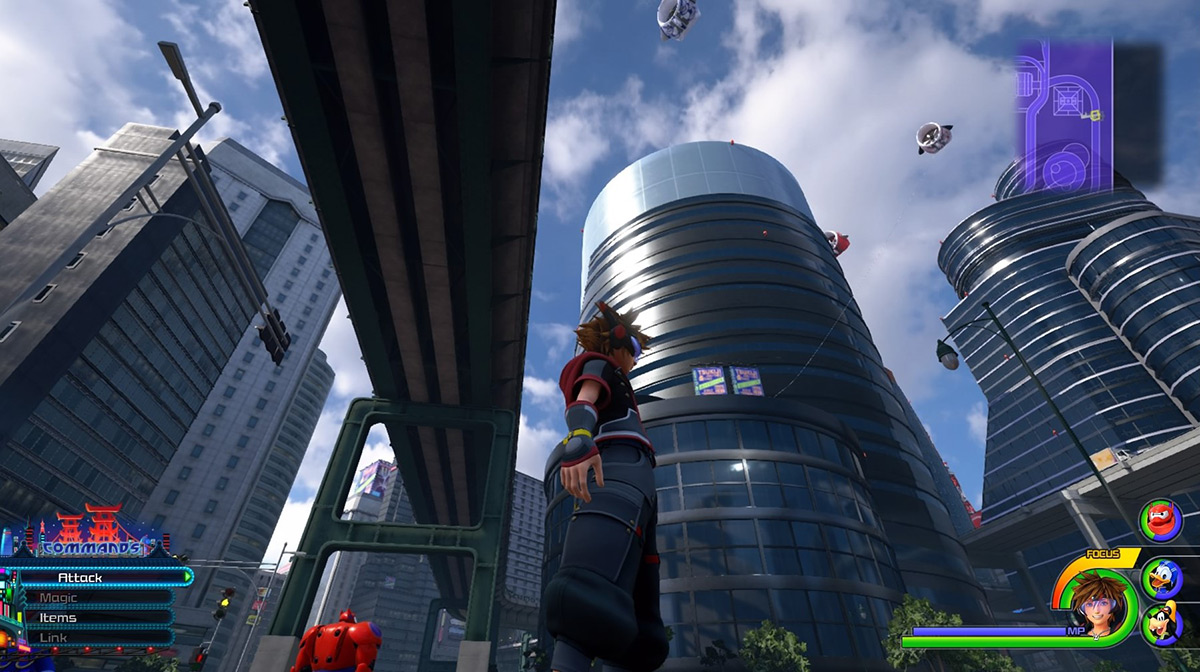
Wall run to the top of this building.
You will find the fish-shaped fans floating all around it. Stand on top of the helipad, focus your camera on one of the fans and snap the photo.

Photo Mission #18: Waterfall
| Description | “Stay by the falls to beat the tropical heat, kupo!” |
|---|---|
| Target | Waterfall |
| Location | The Caribbean – Port Royal/Settlement |
| Unlocked After | First visit to Port Royal |
| Recipe Reward | Aqua Chaplet |
For the eighteenth Photo Mission, head over to The Caribbean and take a picture of the waterfall in Port Royal.
Warp in from the Settlement save point and head east.
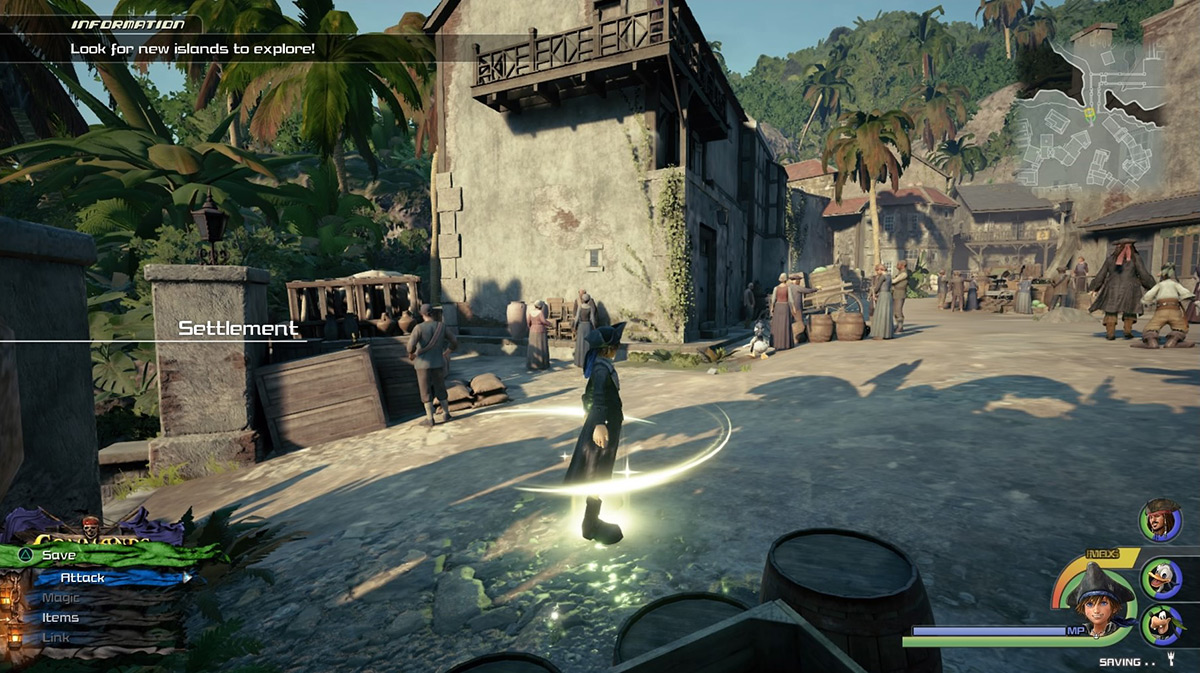
Reach the eastern exit of town and follow the path until you arrive at the bridge.
The large waterfall will be right next to the bridge. Defeat all the enemies beforehand and take a close-up shot of the waterfall to complete the mission.

Photo Mission #19: Demon Tower
| Description | “Show me a creepy, shadowy swarm, kupo!” |
|---|---|
| Target | Demon Tower |
| Location | Monstropolis – The Power Plant/Tank Yard (Battlegate 8) |
| Unlocked After | Completing The Caribbean and San Fransokyo |
| Recipe Reward | Dark Chain |
The nineteenth Photo Mission requires you to photograph the Demon Tower Heartless in Monstropolis.
Warp into Monstropolis from the Tank Yard save point and head south.
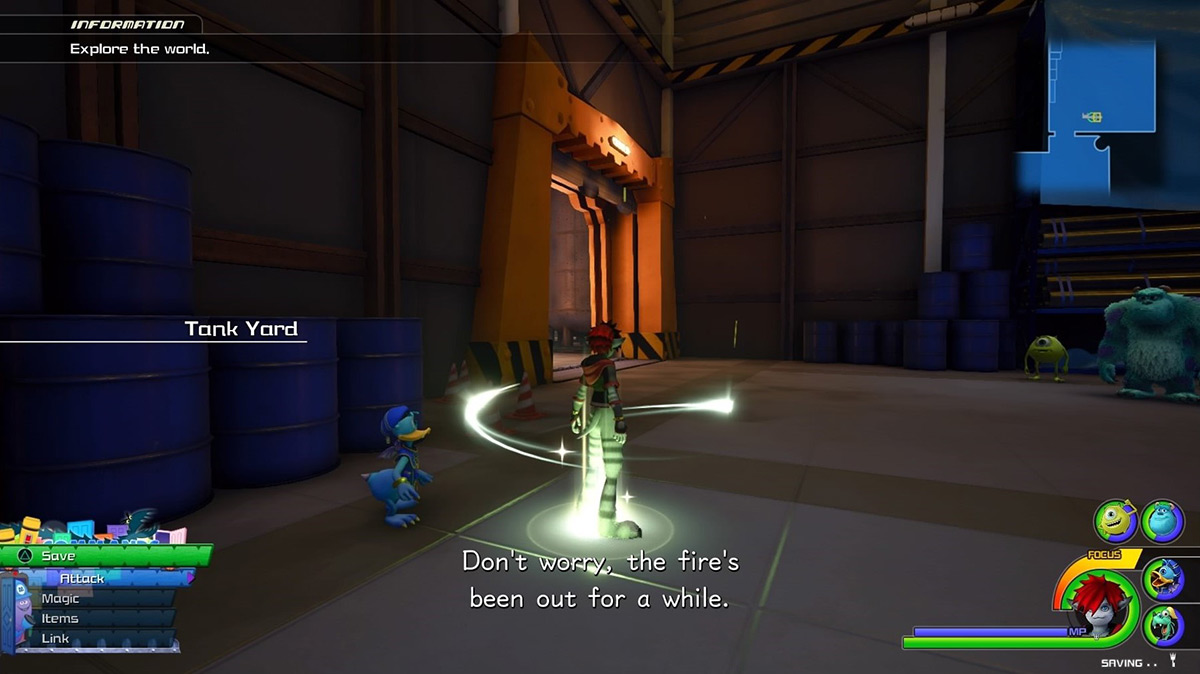
Once outside, look for the large pipe to your left and rail grind over it to reach the inside of the tank, where you will find the blue crystal entrance of Battlegate 8.
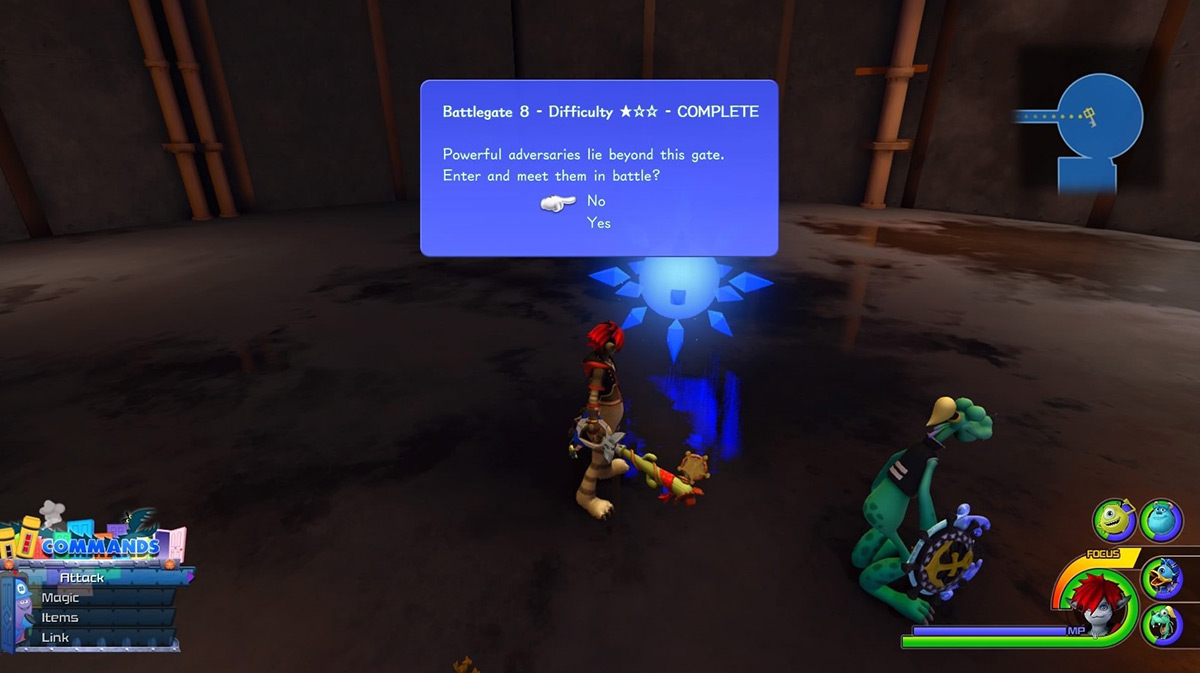
Enter the battlegate to encounter the Demon Tower, which is basically thousands of Shadow Heartless merged together to form a single entity.
The Demon Tower is a moving target, so take multiple shots to ensure you capture a clear photo. Remember to photograph it with its entire body in the frame.

Photo Mission #20: Sora’s Party Members
| Description | “I moogle-salute all your fierce friends, kupo!” |
|---|---|
| Target |
|
| Location | Various worlds |
| Unlocked After | Completing The Caribbean and San Fransokyo |
| Recipe Reward | Petite Ribbon |
The twentieth Photo Mission is the final mission, and it requires you to take photos of all of Sora’s teammates in the game.
This mission can be confusing at a glance.
The game only shows the total number of teammates you’ve photographed under the Photo Missions list. You’ll have to access the photo album in the Gummiphone to actually see which of the 12 characters you’ve already taken photos of.
To keep track, it is best to photograph the party members in the order they appear in the story.
First off, simply snap a double shot of Donald and Goofy from anywhere.

Then head for Olympus to take a shot of Hercules.
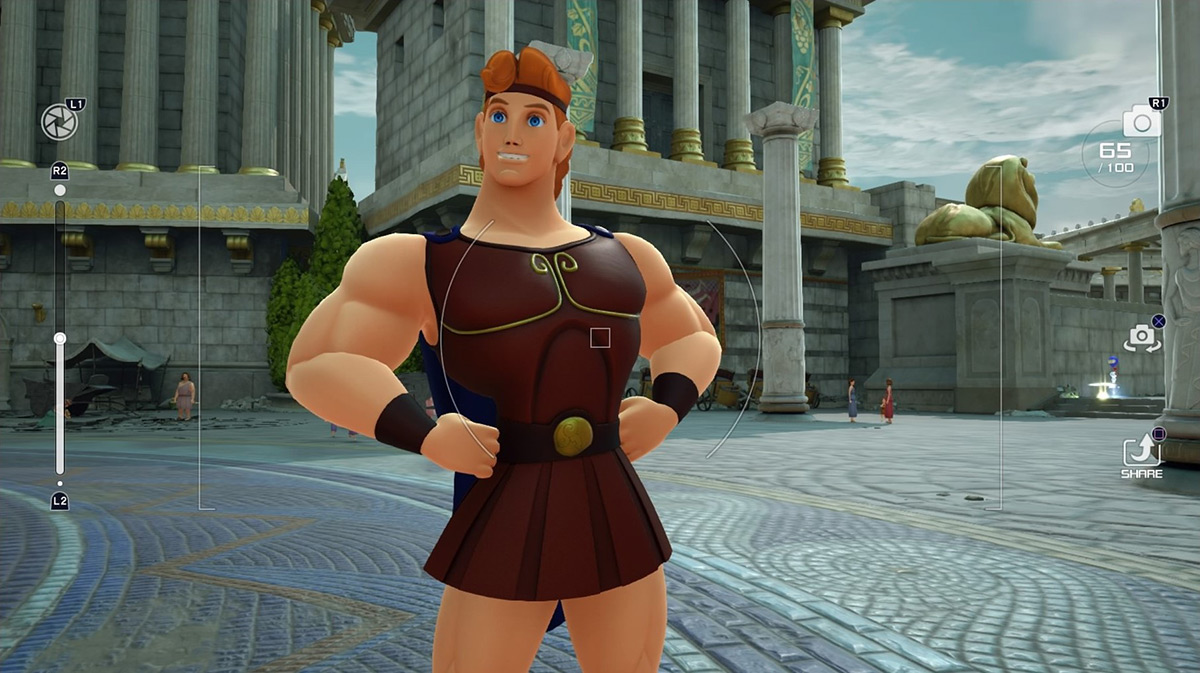
After that comes Toy Box. Take pictures of Woody and Buzz together or separately to make them count.
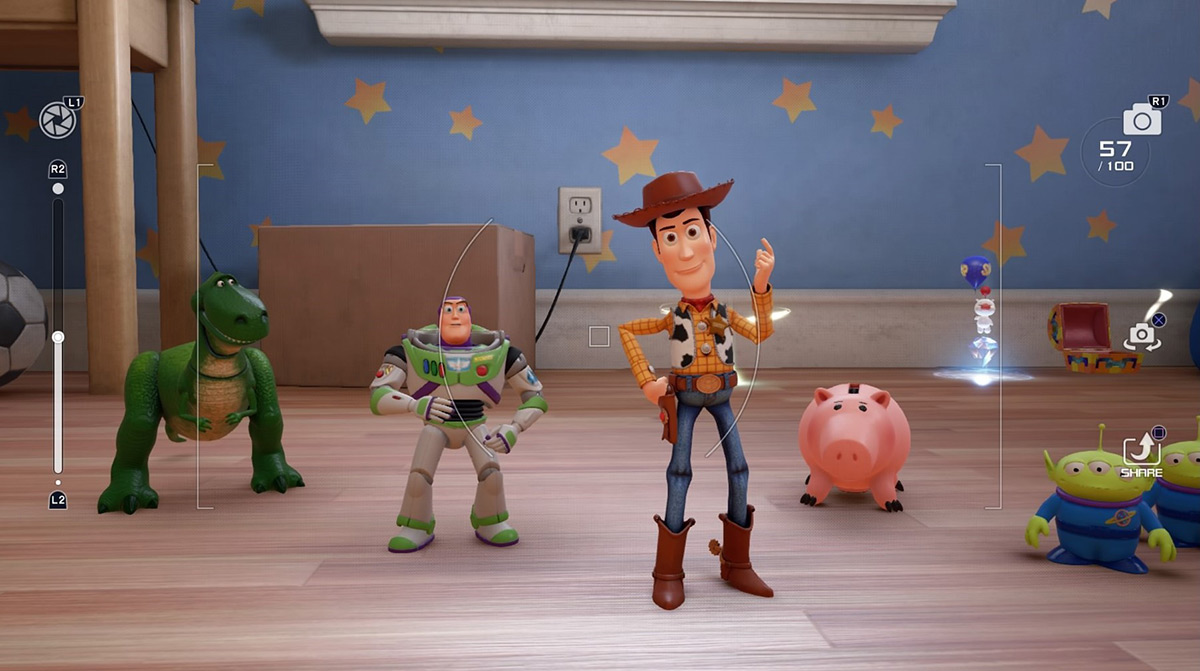
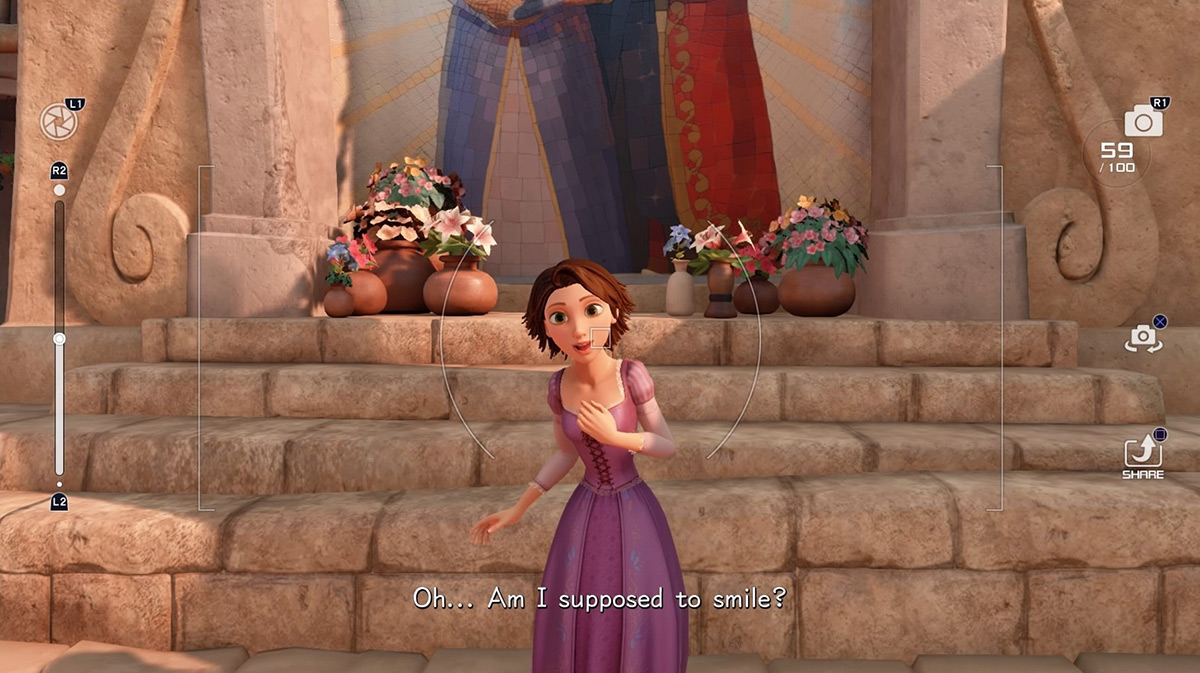
Next, head to the Kingdom of Corona to snap photos of Flynn and Rapunzel.
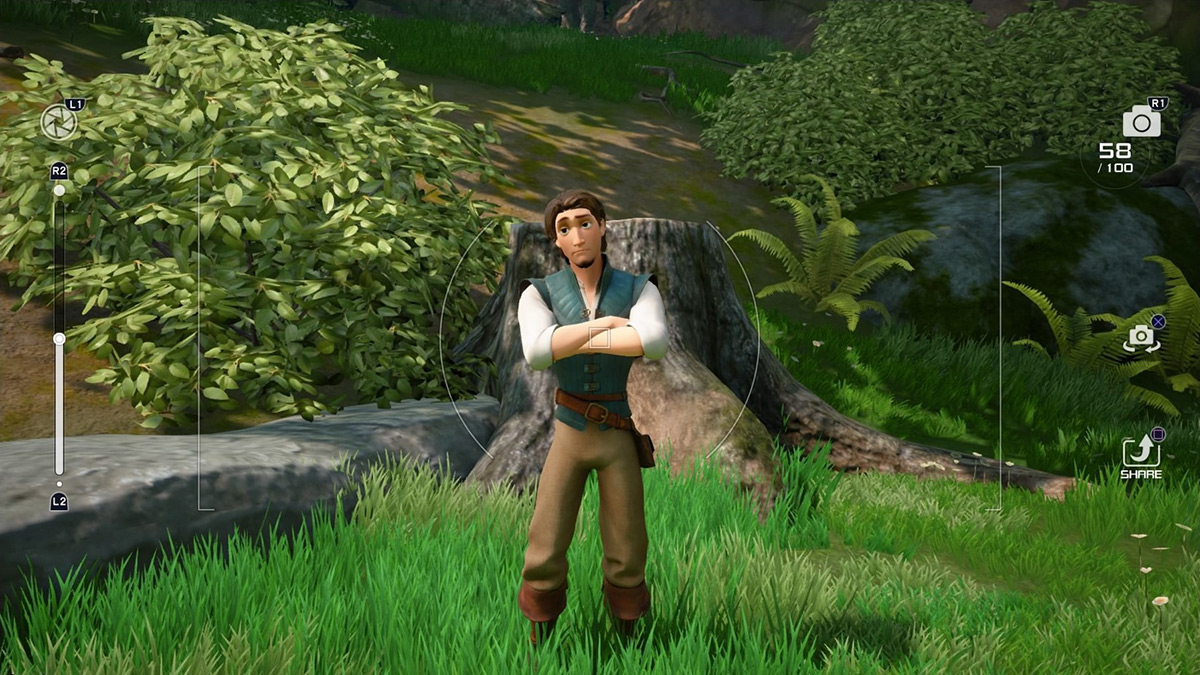
Remember that after clearing the world, Rapunzel won’t remain in your party, and you can only find her near her family mural at the north end of the town. You can enter the town from the Thoroughfare save point.
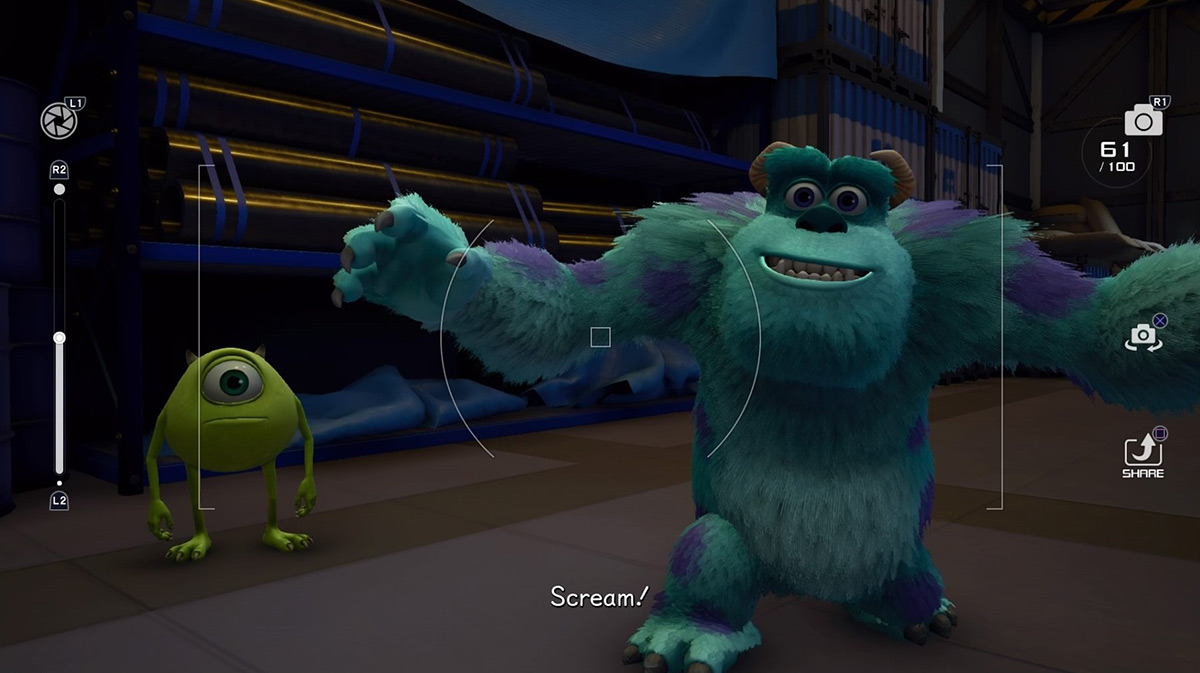
Then head for Monstropolis and take pictures of Sully and Mike Wazowski.
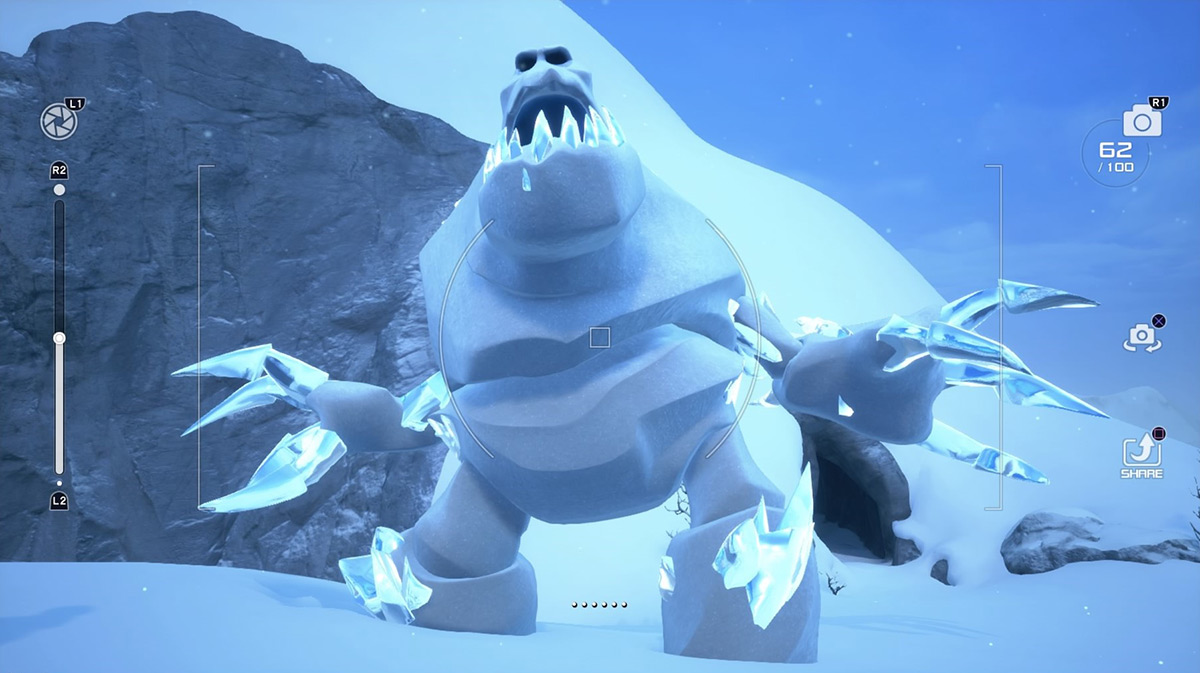
In Arendelle, you need to take a picture of Marshmallow.
This one usually gives trouble because of how large Marshmallow is. The game will not register the photo unless his whole body comes into focus. So remember to step back and wait for Marshmallow to pose for the camera before taking the shot.
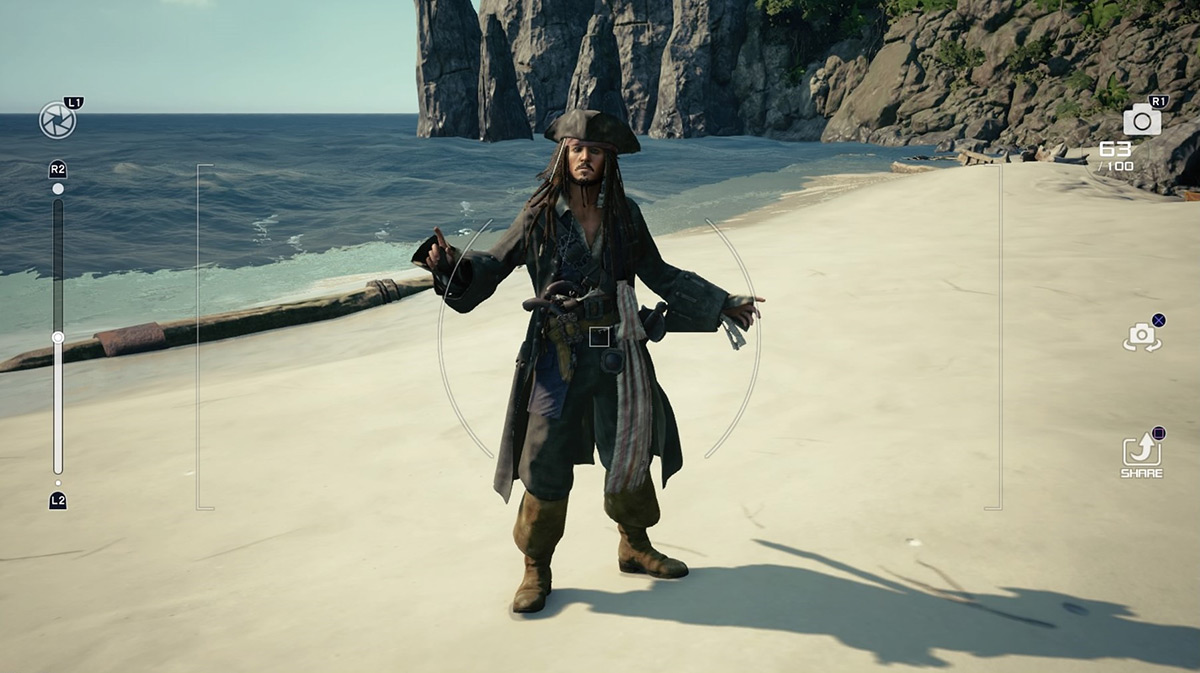
Enter The Caribbean next and take a photo of Captain Jack Sparrow.
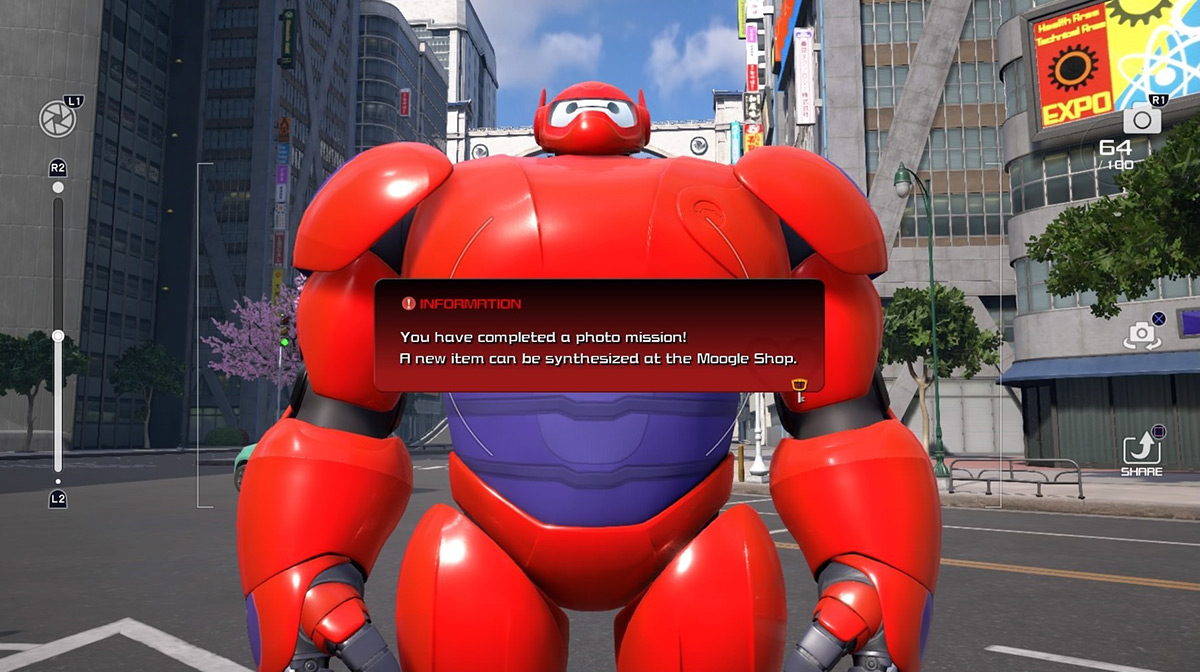
And lastly, head over to San Fransokyo to snap a shot of Baymax.
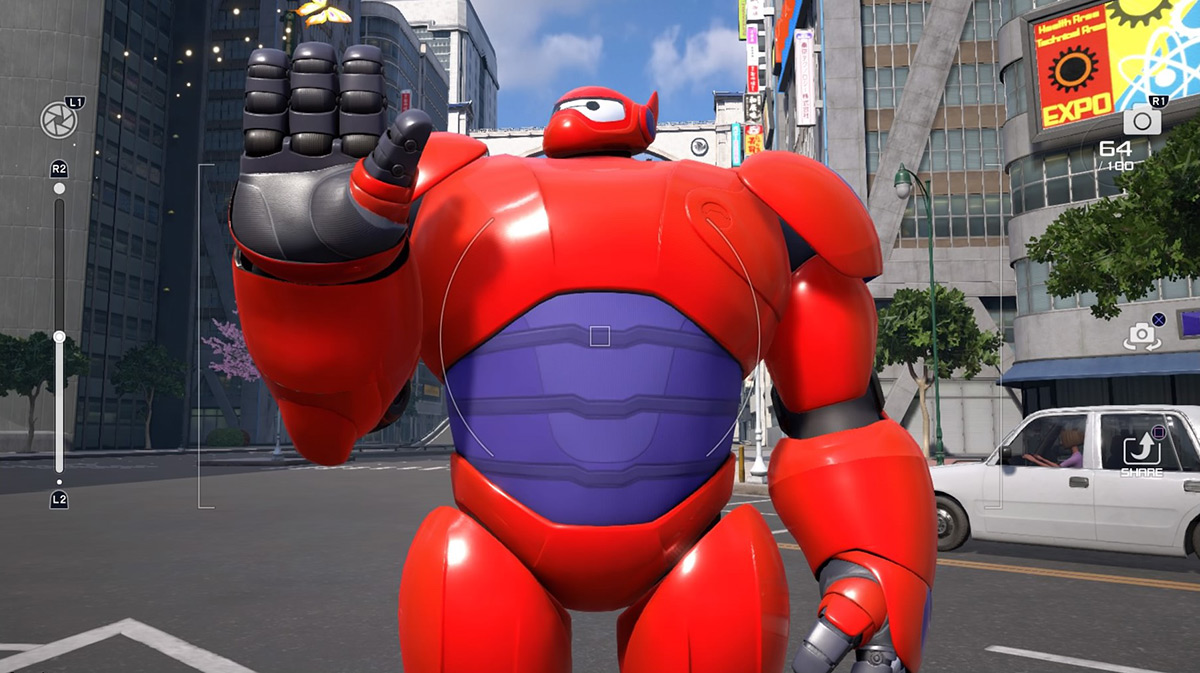
You won’t get a notification for completing this mission until you’ve photographed everyone.
